

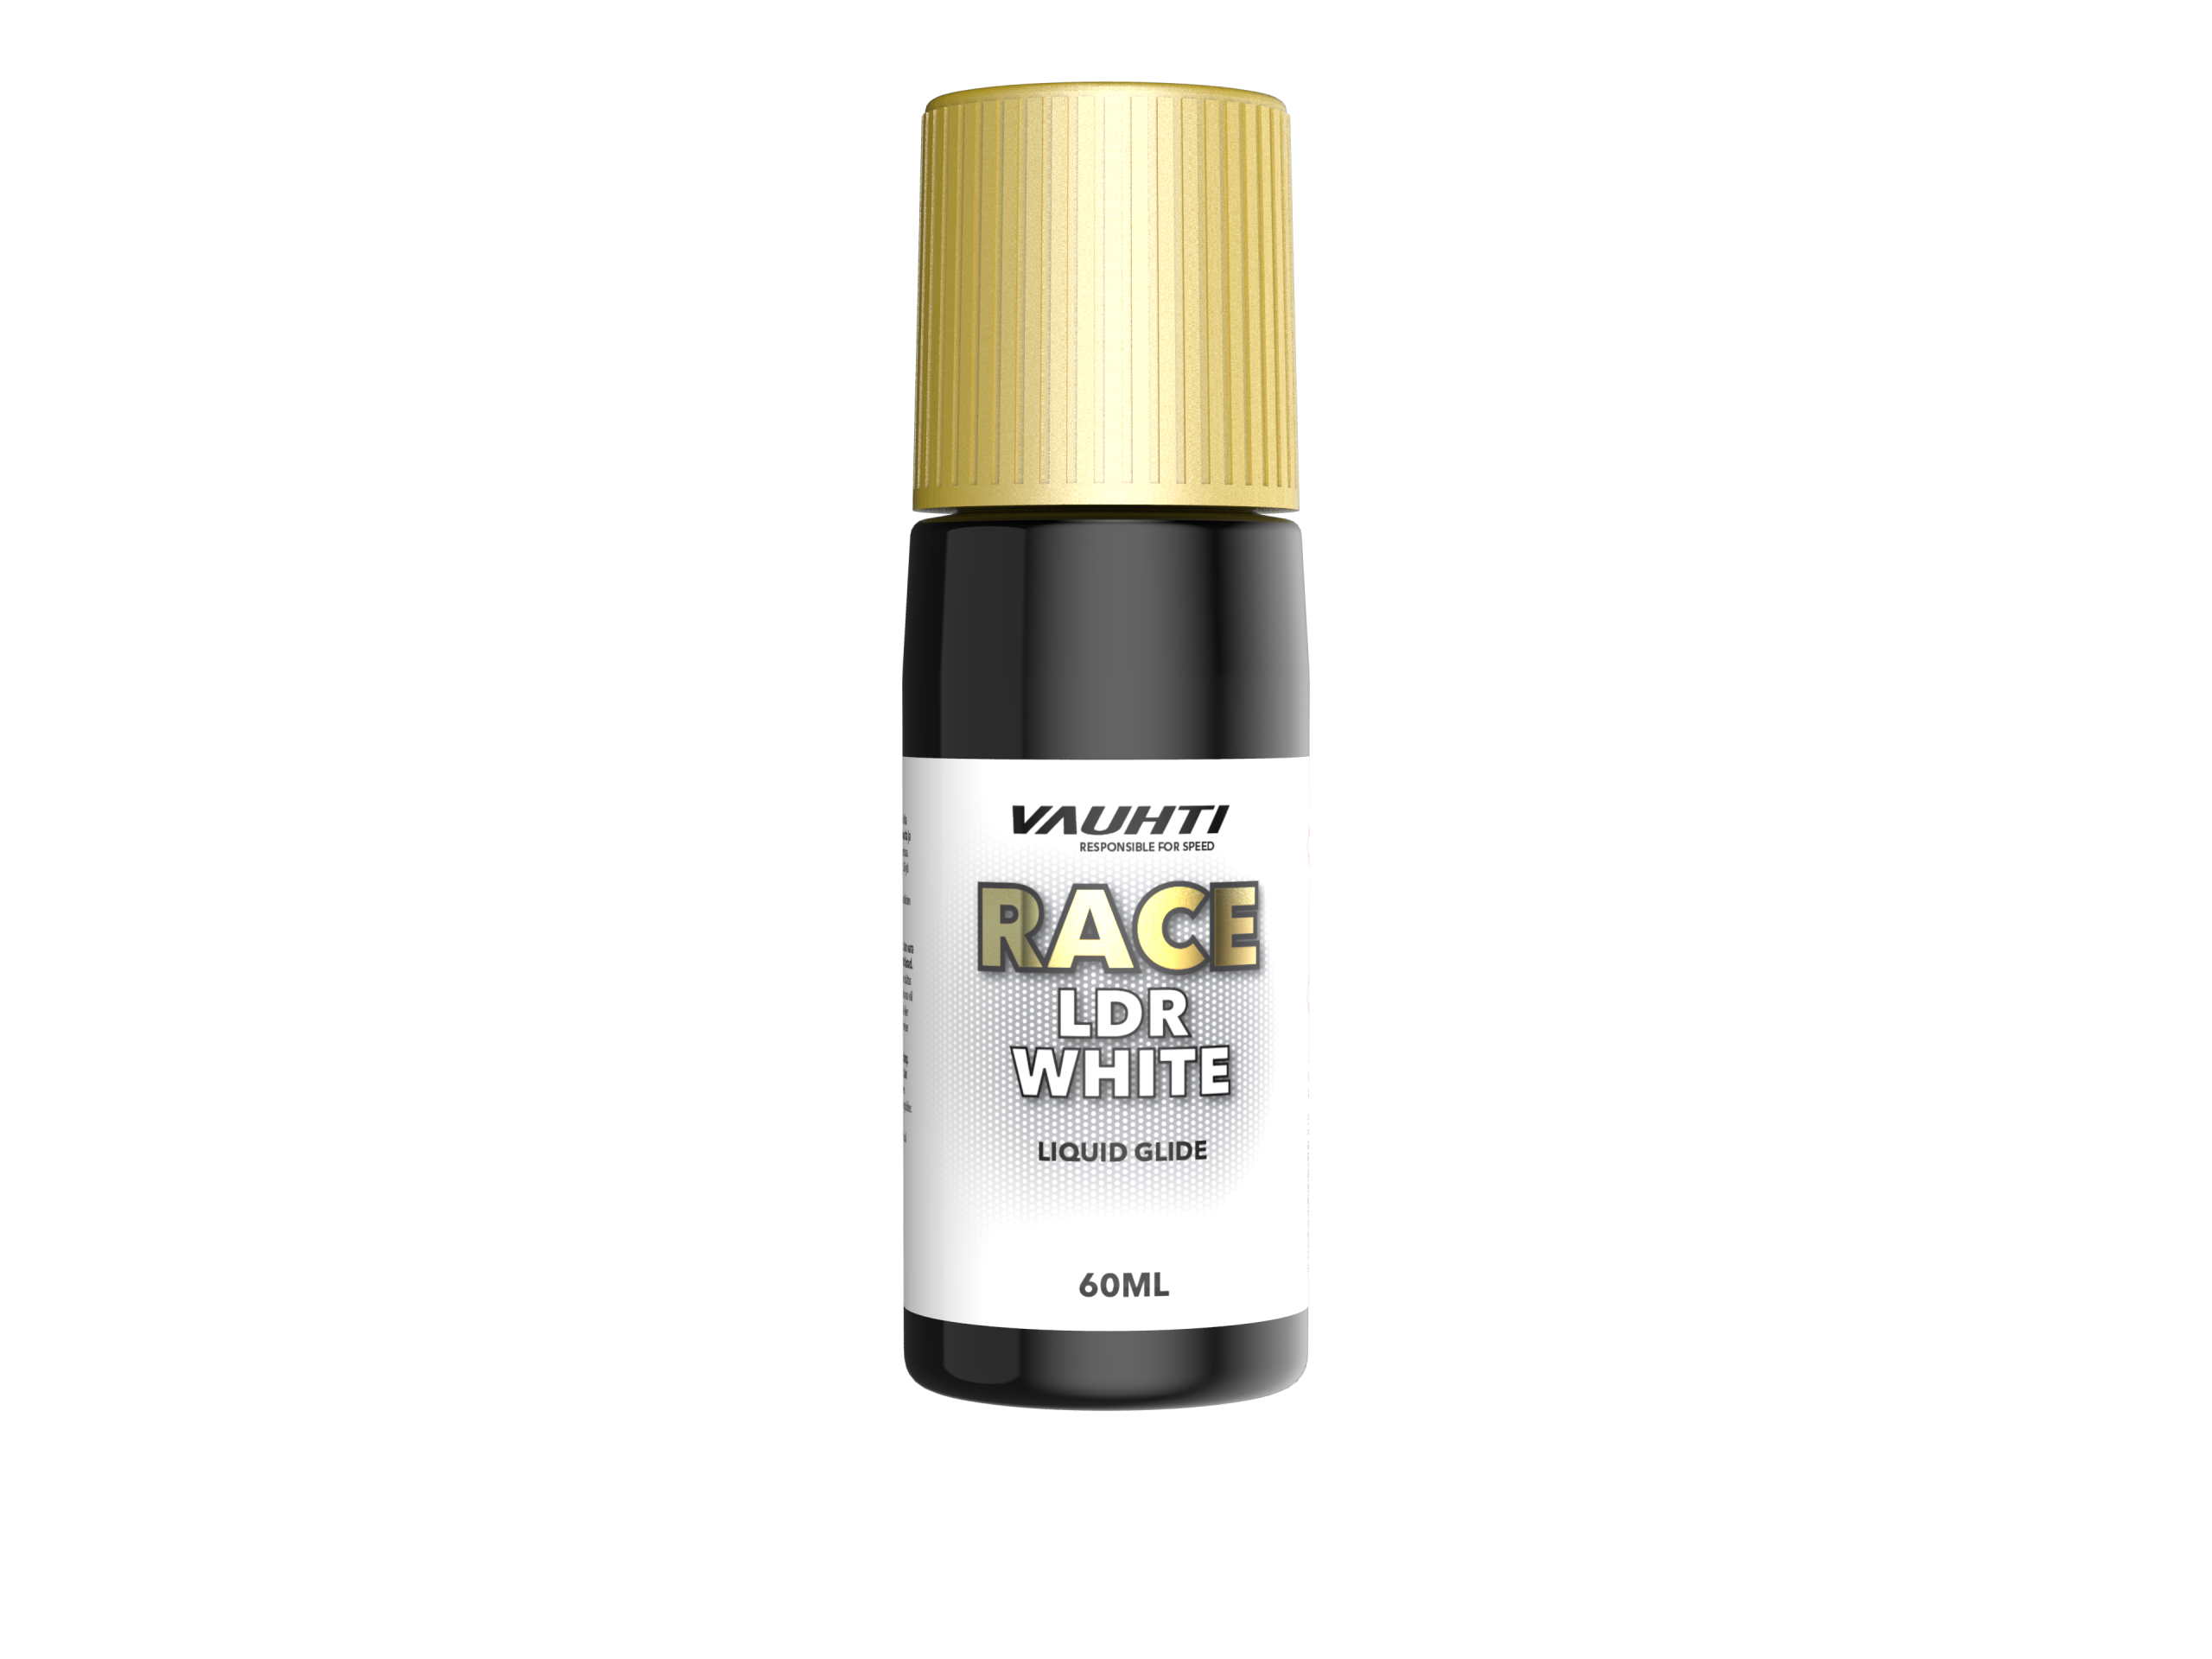

A base for durability
The LDR glide waxes are developed to improve the durability of the wax layers applied on top. UP Polar is also used as a glide base in several of the race recommendations further down.
Wax Cabin / Vauhti
The snow type helps you choose the wax. The application helps you get the best out of it. Here we help you choose the right glide wax and grip wax, apply the layers in the right order, and get a wax job that suits today’s snow.
Find the right glide waxWaxing recommendation for racing:
new snow, 0 to -4 °C. Read the full setup further down.
Start with the surface
New and fine-grained snow may require a different wax than old snow or man-made snow at the same temperature. The comparison applies to RACE glide waxes. Grip waxes with the same color name have their own usage ranges.
| Wax | Product range | Snow type and use | Product |
|---|---|---|---|
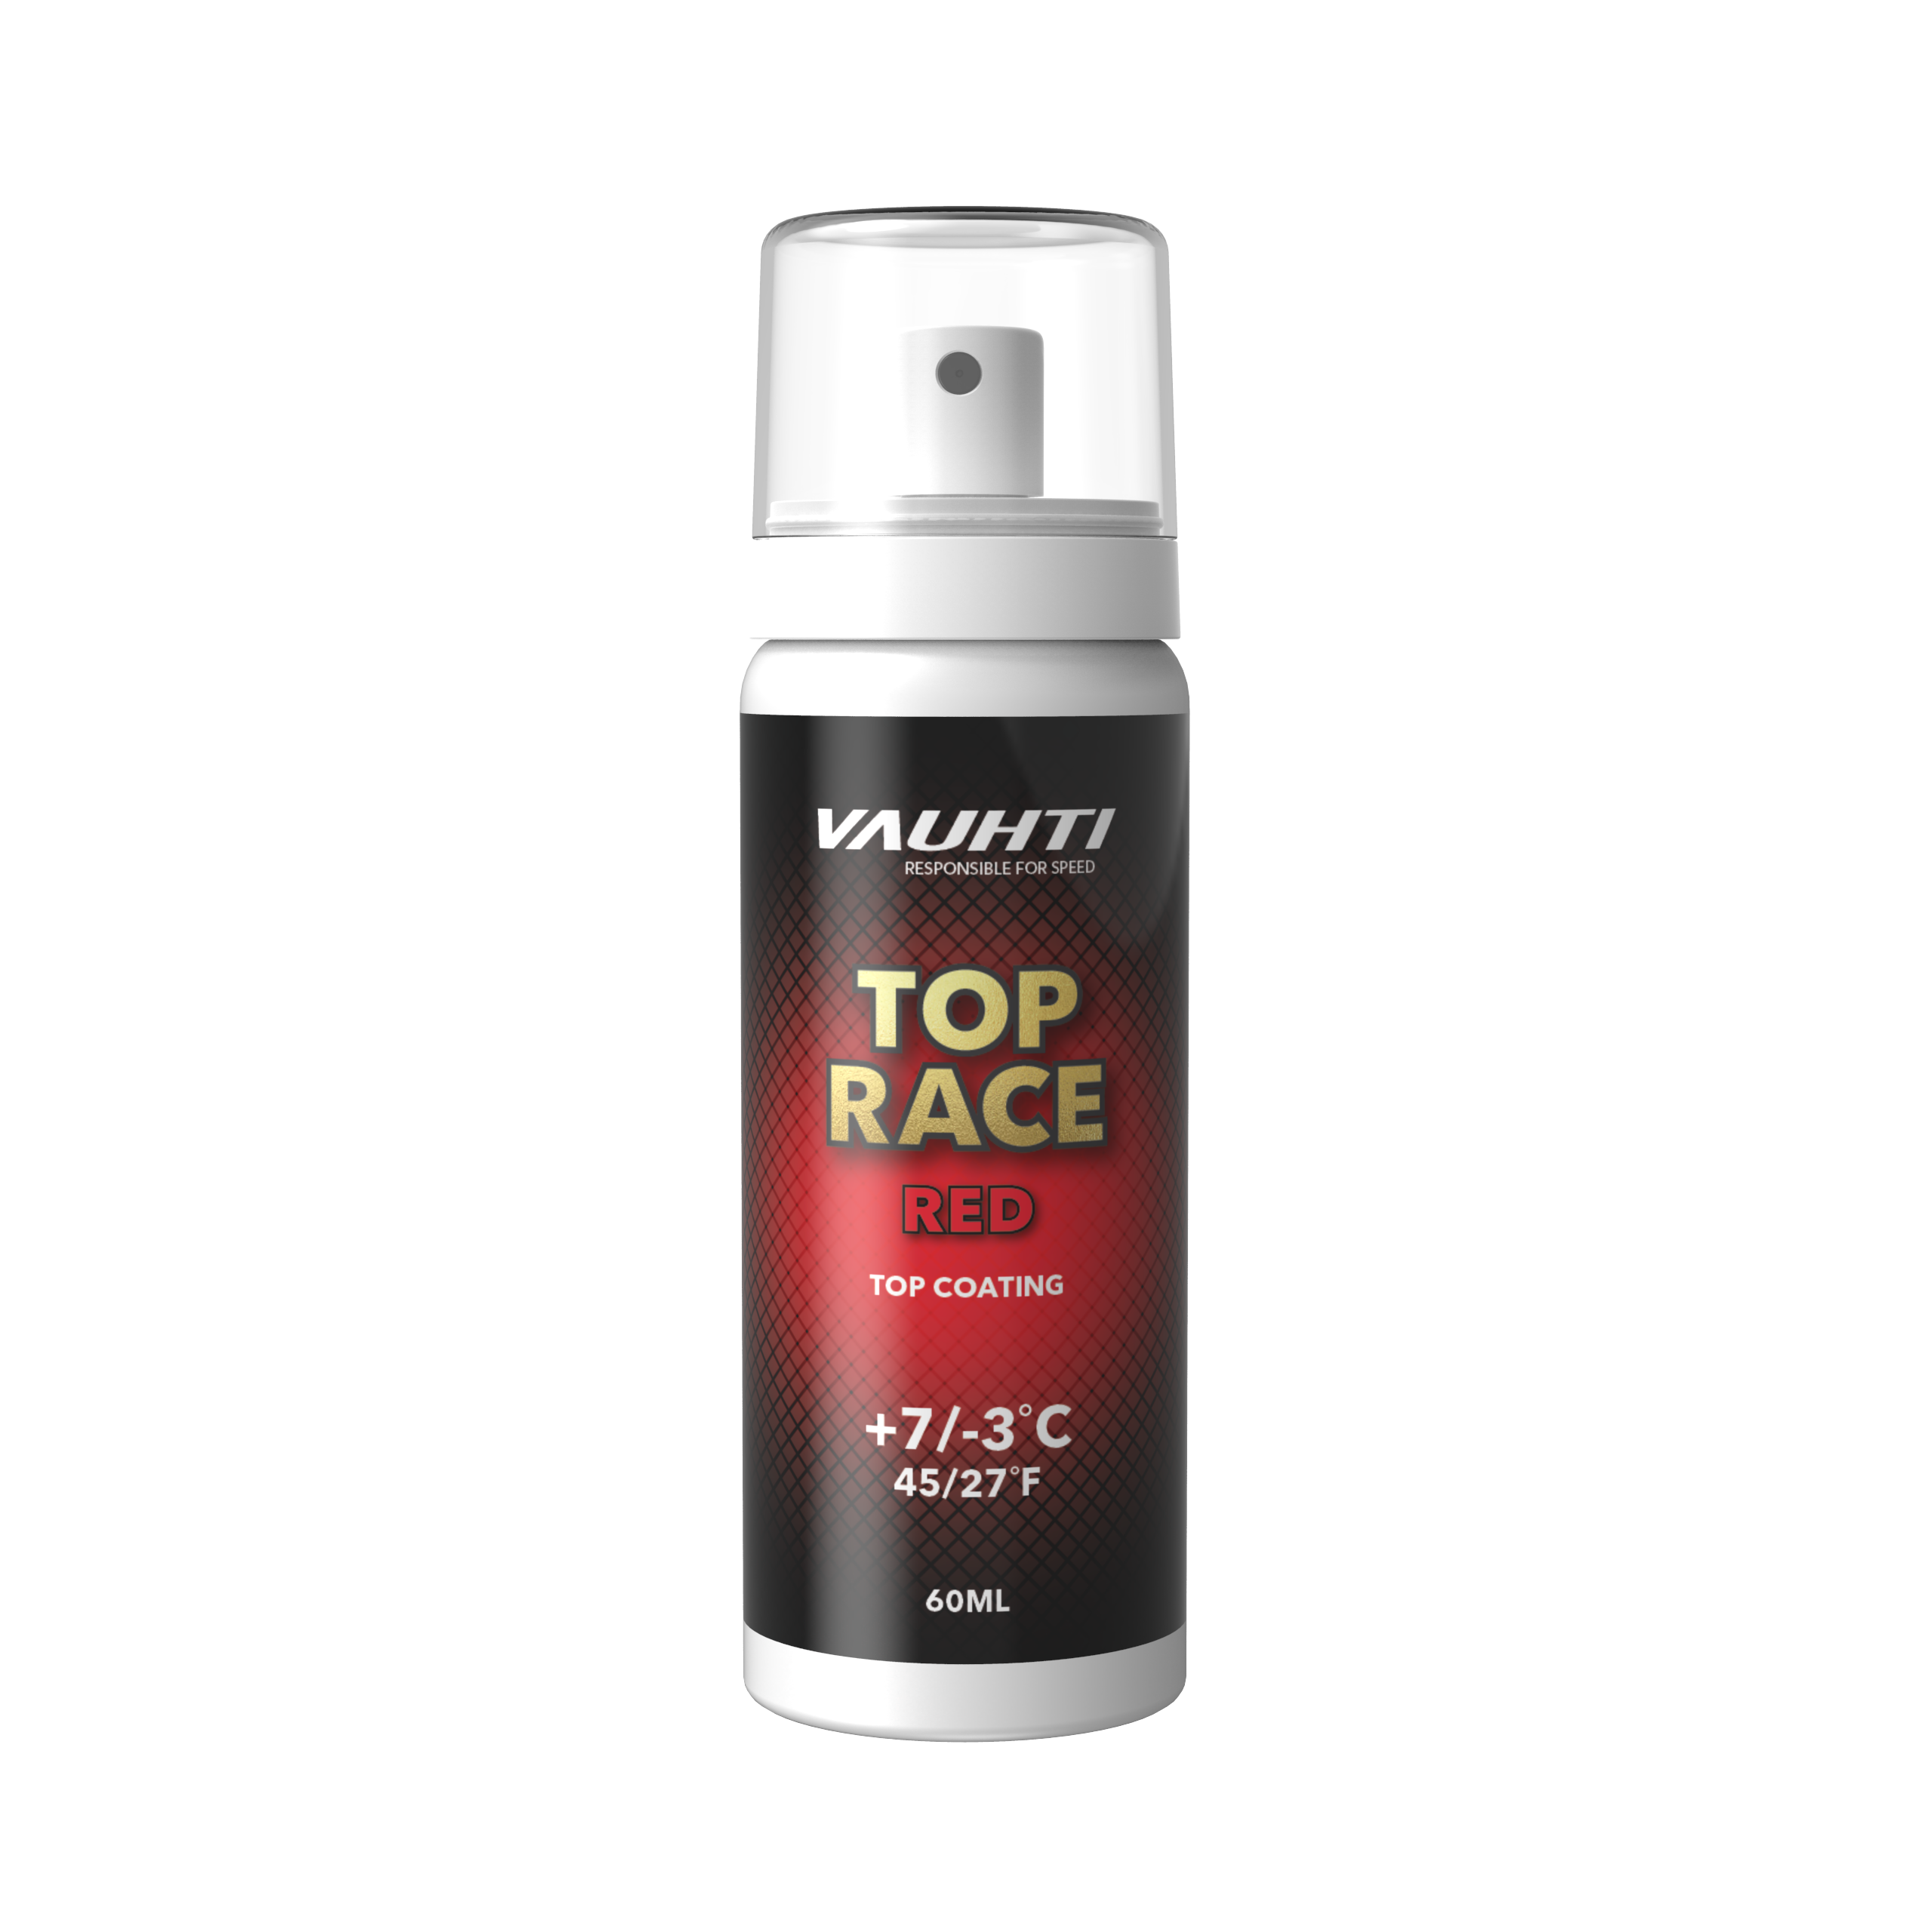
| RACE Red | +7 to -3 °C | Wet, old snow. | Powder · Liquid |
| RACE Pink | +3 to -4 °C | Especially useful around freezing. | Powder · Liquid |
| RACE Violet | -1 to -7 °C | Wide range of use, especially dirty man-made snow. | Powder · Liquid |
| RACE Blue | -5 to -15 °C | Primarily dry man-made snow. Also falling snow at -5 °C or colder. | Powder · Liquid |
| RACE Green | -10 to -20 °C | Fresh snow and cold conditions. | Powder · Liquid |
| RACE MoS₂ | Not specified | Old, coarse-grained, and icy snow. | Powder |
| RACE C | Not specified | Dry and fine-grained snow. | Powder |
The temperature ranges in the table apply to each product individually. The race recommendations further down apply to combinations of several waxes and may have different ranges.
From training to racing
For training, one glide wax may be enough. For racing, you can combine several products to adapt durability and glide to the snow. The LDR glide waxes can be used on their own or under another glide wax.
The LDR glide waxes are developed to improve the durability of the wax layers applied on top. UP Polar is also used as a glide base in several of the race recommendations further down.
In several of the powder setups, you apply a liquid glide base as a middle layer. In the setups with liquid RACE, the middle layer is the color selected according to the snow.
A powder can be the final layer. In other setups, a TOP RACE block or a spray is used as the finish. An extra topping layer is an optional choice to test for the current snow conditions.
How to do it
Start with a clean glide surface. Then choose the instructions for the product you are using. Always follow the current packaging instructions for temperature and application.
For more effective cleaning, you can wrap the polishing cloth around a brush and work it over the wet base.
This is the racing method for the RACE liquids in the comparison above. For UP, other series, and liquid base waxes, follow the instructions for each respective product.
Choose the iron temperature according to the instructions for the product in question. Different racing waxes may require different temperatures, even when they are used in the same waxing setup.
You can also apply the blocks with merino roto wool as an alternative method.
The instructions apply to the solid Vector block. Follow the current packaging instructions for your product.
Before the race
Here you will find complete waxing recommendations for different snow types and temperatures. Use them as a starting point and test ski to adapt the waxing to the current snow. Each product must be applied, dried or cooled, and finished according to its method before the next layer is added.
The RACE liquid forms the middle layer. In these race recommendations, a block or a spray is used as the finishing layer.
Choose one powder option where several are listed. No additional topping is automatically included in these three layers.
The powder options are two different choices to try, not two layers that must be applied one after the other.
Choose one of the powder options and compare on the current snow conditions.
If you want to fine-tune the waxing, you can try powder blends or an extra topping. Always compare glide on the current snow before choosing race wax.
For classic cross-country skiing
Base binder, hardwax and klister have different functions in the grip zone. LDR is also available as hardwax and klister - those products should not be confused with the LDR glide waxes.
A durable base binder with good glide properties that also suits fresh snow. Can also be applied cold, without an iron.
See GS Base ATFor coarse, abrasive snow, man-made snow and wet new snow around zero. Liquid base binder must be allowed to dry completely before the next layer.
Solid base binder · Liquid base binderKlister base that helps the layers above adhere and last. Can also be used under hardwax in coarse snow.
Base klister · Liquid klister baseUse the recommendations as a starting point and adjust the number of layers according to the skis and the conditions. Liquid base wax must dry completely. Heated layers are cooled between the steps.
Have the right tools at hand
In our Vauhti range you will find glide wax, kick wax, klister and tools for both training and racing.
View the full Vauhti range