

Brush and wipe
Remove loose dirt and wax dust, wipe the ski and let it dry before putting it away.
No liquid is needed if the base is clean.Vallaboden - cleaning
A cross-country ski consists of areas that must be treated differently. The glide zones should be cleaned without drying them out, the kick zone must be cleared of hardwax or klister, and skins should never be exposed to regular wax remover.
Start with what is needed
A ski does not need stripping with solvents after every outing. Brushing and wiping are often enough. Choose a deeper method only when dirt, old wax residues or a new wax system require it.
Remove loose dirt and wax dust, wipe the ski and let it dry before putting it away.
No liquid is needed if the base is clean.Use a product designed for glide zones when the structure has collected dirt, old liquid wax or contaminants from the track.
Clean, let dry and brush out the structure.A soft cleaning or saturation wax can lift dirt from the base when scraped off while still warm and soft.
Repeat only if the scraped-off wax is visibly dirty.Remove hardwax and klister mechanically first, then dissolve the residues with grip wax remover inside the marked zone.
Let the zone dry completely before applying a fresh binder layer.Start with the gentlest method that solves the problem. The aim is a clean, dry working surface, not a base treated more aggressively than necessary.
The right product in the right place
The key distinction is between glide wax cleaner and grip wax remover. Integrated skins are a third material type and must not be treated like a normal plastic base.
A classic ski has three working areas
On a skate ski, the entire base is a glide surface. On a skin ski, clean the glide zones as usual, but use a skin-specific product on the skin itself.
Clean the structure without using strong grip wax remover over the whole ski.
Scrape off most of it first. Then dissolve the residues with wax remover on Fiberlene.
Lift off as much klister as possible before washing away the final film.
The skin's fibres and adhesive need a special cleaner developed for the material.
The glide zones
For ordinary dirt and wax residues, glide wax cleaner offers a controlled method. Work it into the structure, wipe it off and follow with thorough brushing.
Scrape away any loose lumps and wipe off moisture. On classic skis, work only in front of and behind the kick zone.
Brush lightly from tip to tail to remove dust, paraffin residues and dirt on top of the structure before applying liquid.
Dampen a clean piece of Fiberlene and spread the cleaner over the glide zones. Always follow the instructions on the product you are using.
Use a clean nylon or fine steel brush as directed by the product. Work with control to release dirt from the base structure.
Switch to a clean cloth and lift away liquid and dissolved dirt. Continue until the cloth no longer becomes visibly dirty.
Let the cleaner evaporate completely as instructed. Then brush from tip to tail until the structure feels clean and clear.
Deeper cleaning
Iron in a soft cleaning or saturation wax and scrape it off while still warm and soft. Dirt and old wax come away with it.
Hot scraping is a method for deep cleaning and saturation, not a mandatory step after every ski outing.
Lightly clear the structure and remove loose dirt before ironing in the wax.
Use cleaning or saturation paraffin and a waxing iron set to the product's specified temperature.
Work from tip to tail without stopping. The wax should melt easily but not smoke.
Use a sharp acrylic scraper and remove the wax before it has cooled completely.
If the scraped-off wax is clearly grey or dirty, repeat the treatment if needed.
Before skiing, apply glide wax for the day's conditions. For longer storage, leave a fresh soft-wax layer unscraped for protection.
Hardwax
Remove most of the wax mechanically before using solvent. This uses less remover, speeds up cleaning and reduces the risk of spreading grip wax onto the glide zones.
Cold, hard grip wax is harder to work with. Support the ski securely and consider marking the start and end of the zone.
Use a separate grip wax scraper. Work with control and stay inside the actual kick zone.
Handle cleaners as directed on the label. Protect the work surface and keep paper and tools for the kick zone separate from glide waxing equipment.
Work with the cloth in the kick zone instead of pouring large amounts directly onto the ski. Dissolve the residues gradually.
A saturated cloth mainly moves old wax around. Continue with clean Fiberlene until the surface no longer feels greasy or leaves marks.
Finish with dry Fiberlene and let the cleaner evaporate completely as instructed before applying fresh binder wax.
A common mistake is using the same cloth over the whole ski. Clean glide zones with glide wax cleaner and the kick zone with grip wax remover, using separate cloths and tools.
Klister
Klister can easily become a bigger problem than the waxing itself. The key is to carry it away in the paper instead of scraping and spreading it over the ski, bench and tools.
Suitable for most klister applications and requires no waxing iron. The liquid softens the surface so paper and klister can be lifted off together.
Use this method when klister is thick, cold or has been on the ski a long time. Use dry Fiberlene and apply gentle heat through the paper. Never place the iron directly in klister or use it on paper dampened with wax remover.
Place paper under the ski before starting. Otherwise, klister on the bench quickly finds its way back onto skis and tools.
Do not use the same scraper for klister and glide wax.
Change them often. A clean piece of Fiberlene lifts off klister; a saturated piece merely moves it around.
Klister can remain in the groove and along the sides even when the flat surface looks clean.
Fresh binder wax or klister adheres less well if solvent remains on the surface.
After removing klister, clean the glide zones with a product intended for the glide base.
Skin skis
Standard wax remover can affect skin fibres and adhesive. Use a cleaner explicitly designed for integrated skins and treat the glide zones in front and behind separately.
Avoid applying unnecessary amounts of liquid directly to the skin. Dampen a clean piece of cloth instead.
Work along the full length of the skin without pulling or roughening the fibres.
The ski must be dry before use or the next treatment.
Use skin impregnation or Skin Boost as directed to reduce water absorption and improve performance.
Not a normal plastic base
Standard wax remover, sandpaper and intense heat. Clean gently, let dry and keep glide wax away from the skin itself.
Common mistakes
Most problems are not caused by a product being too weak. They come from moving dirt between zones, reusing paper or starting the next wax job before the surface is dry.
Glide surfaces, grip wax and skins are different materials and need different products.
A dirty cloth can spread grip wax, klister or solvent onto the glide zones.
Klister sticks to the iron and can contaminate the next glide wax job. Always heat through Fiberlene.
Finish the glide zones first. Otherwise, glide wax and dust can end up in the kick zone.
The solvent must evaporate completely before applying binder wax, klister or glide wax.
Follow the product's safety information, work in a ventilated area and avoid unnecessary skin contact.
Watch the methods
The videos show the process for glide zones, hardwax, klister and skins. Consider watching the relevant video before opening the cleaner.
Swix shows how to clean the glide zones using glide wax cleaner, Fiberlene, and a brush.
Scrape off the bulk first, then clean the kick zone with wax remover and Fiberlene.
See how Fiberlene, a waxing iron, and a scraper are used to lift away old klister.
Swix shows how to clean skins gently without damaging the fibers or the glue.
The right cleaning kit
You do not need many products, but each should have a clear role. Keep grip wax tools separate from glide brushes and change Fiberlene often.
Do not treat glide surfaces, hardwax, klister and skins with the same liquid. Choose the product to suit the surface you are working on.
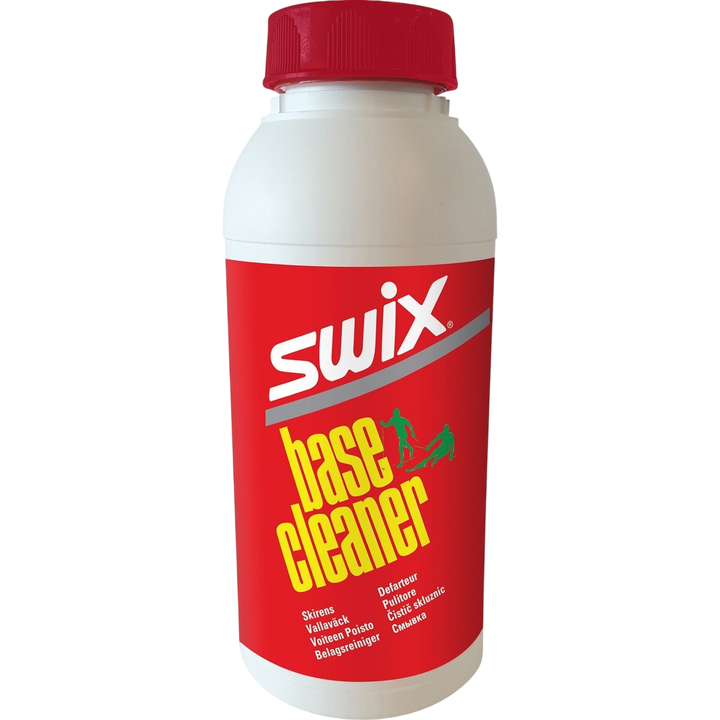
Swix
Dissolves residues of hardwax and klister within the marked kick zone.
First scrape off as much as possible and keep the product away from the glide zones.
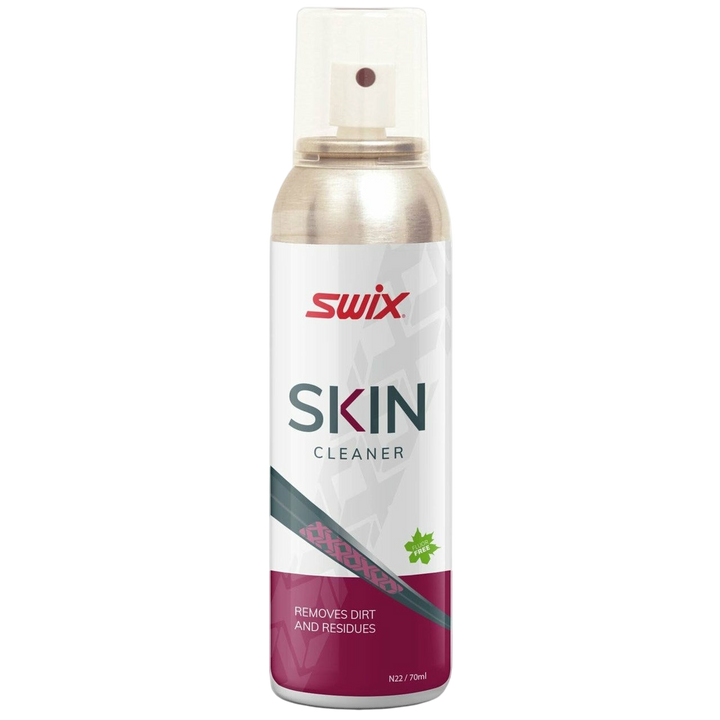
Swix
Gentle cleaning for integrated skins without attacking the skin adhesive.
Spray onto Fiberlene, wipe the skin, and let the ski dry at room temperature.

SkiGo
Soft cleaning and saturation wax for deep cleaning of glide zones.
Scrape while the wax is warm and soft. Repeat if necessary if the wax becomes dirty.
Fiberlene, separate scrapers, the right brushes and a temperature-controlled waxing iron make a big difference when removing dirt and old wax.
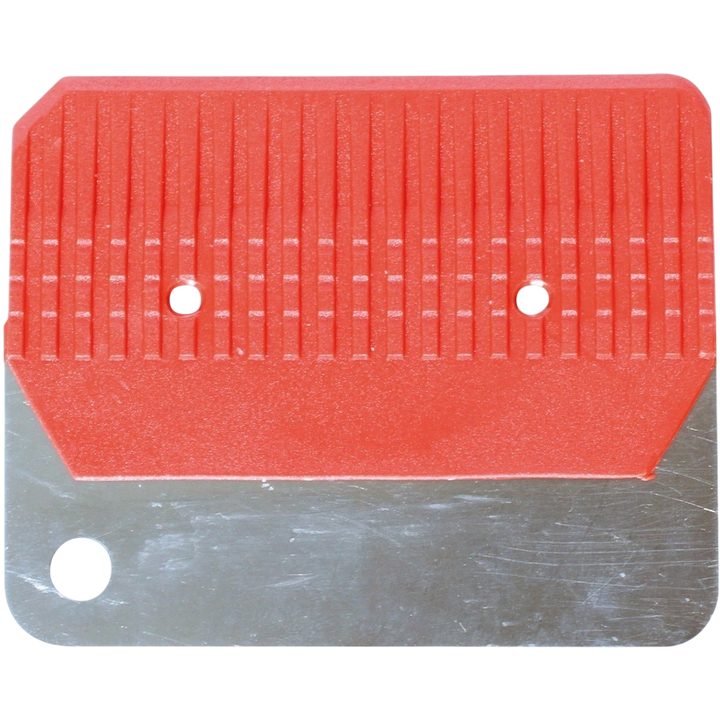
Swix
Separate scraper for removing hardwax and klister before using solvent.
Do not use it as a plexi scraper on the glide surfaces.

Swix
Sharp plexi scraper for hot scraping and removing glide wax.
Sharpen often. A sharp scraper requires less pressure and gives better control.
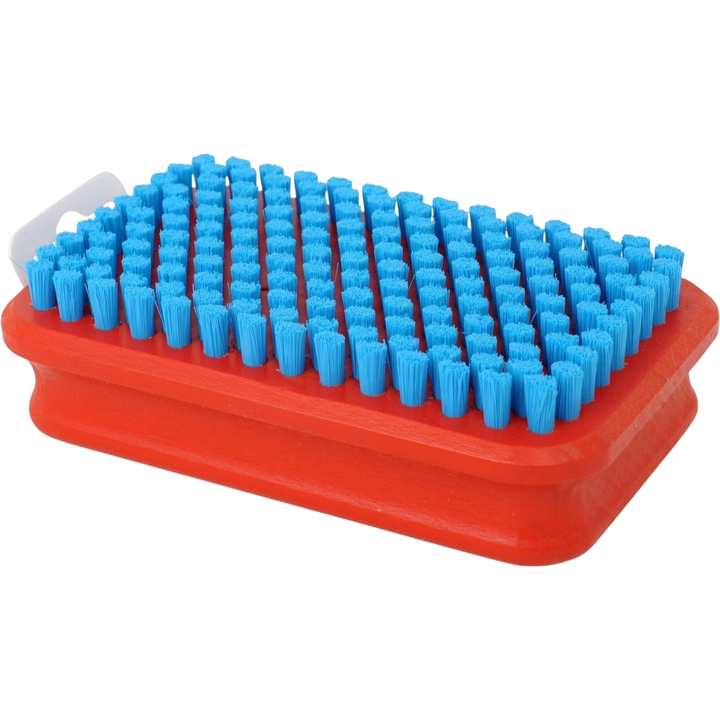
Swix
Fine nylon brush for working glide wax cleaner into the structure and brushing clean.
Keep the brush clean and do not use it in the kick zone.
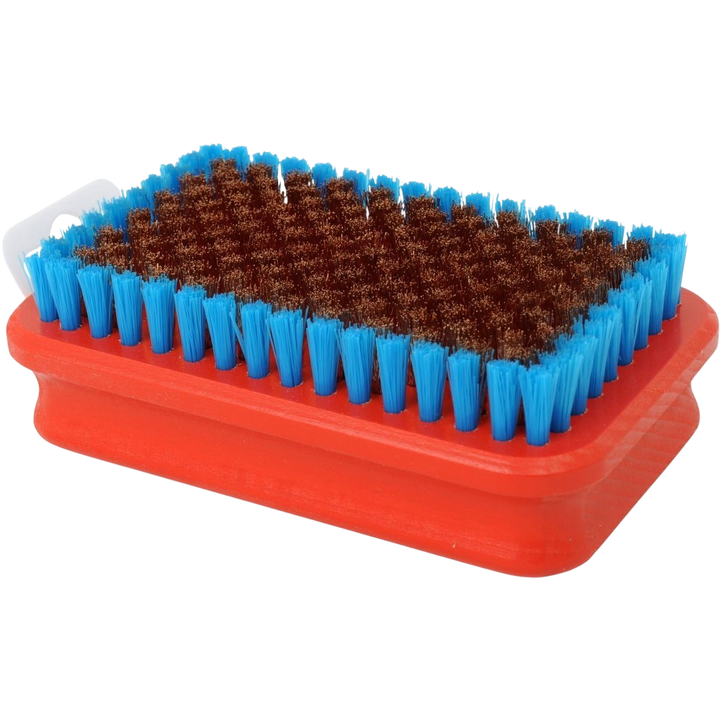
Swix
Bronze brush for opening and brushing out the base structure.
Work from tip to tail after the cleaner has dried.
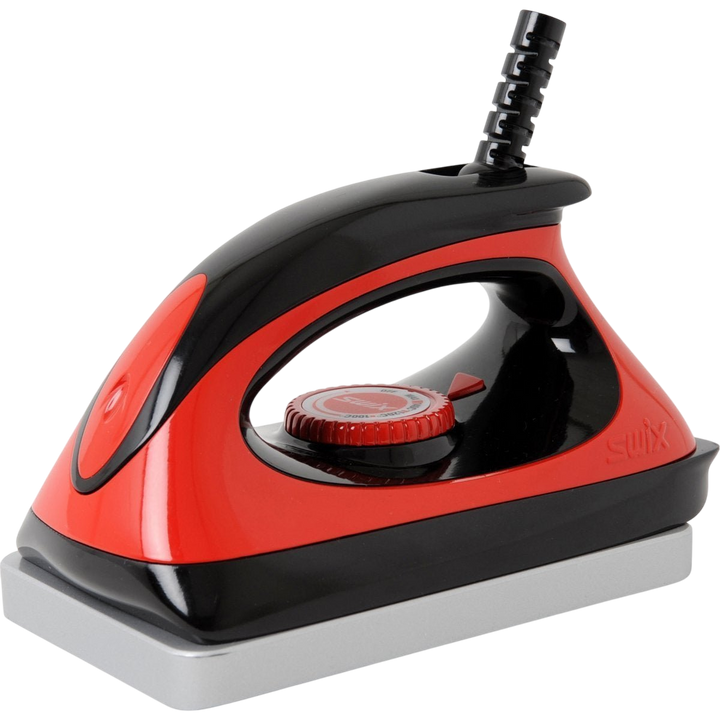
Swix
Waxing iron for hot scraping and the warm method for old klister.
Always heat klister through Fiberlene and keep the iron moving.
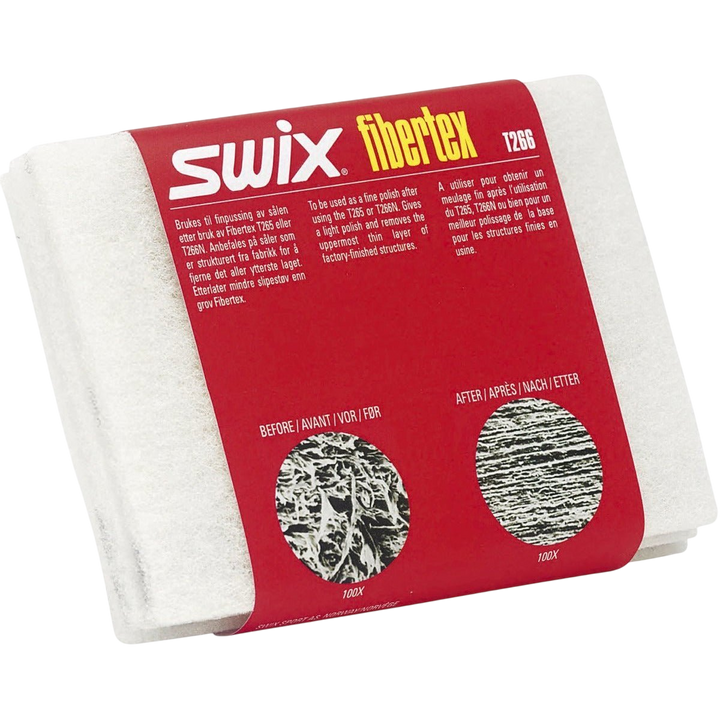
Swix
Fine Fibertex for light surface treatment and removal of very fine fibers.
Use sparingly and always follow the ski and product recommendations.
Next step
Once the ski is clean, the waxing begins. Choose a guide for glide waxing, hardwax, klister or skin care.
Choose between liquid glide wax, durable hot waxing and thorough race preparation.
Read the guide GripRoughen, apply binder wax and build thin layers, corking them evenly over the correct kick zone.
Read the guide Coarse snow conditionsLearn to choose klister, build a durable base and avoid mess, icing and slow skis.
Read the guide Skin skisFind cleaners, impregnation and products that improve performance without damaging the skin adhesive.
View the productsFrequently asked questions
The key is to keep the zones separate and let each surface dry before starting the next step.
Not after every ski outing. Brush and wipe regularly, and use glide wax cleaner when the base is clearly dirty, the structure feels clogged, or you want to start from a clean surface before a more thorough waxing. Hot scraping is done less often and as needed.
It is better to use a cleaner intended for glide bases. Wax remover for hardwax and klister should be kept within the kick zone. The products have different purposes and should not be considered interchangeable.
Glide wax cleaner is used on the ski’s glide surfaces to dissolve dirt and glide wax residue without abrasives. Grip wax cleaner is designed for the much tackier hardwax and klister in the kick zone. Skin Cleaner is a third product category for integrated skins.
No. Fiberlene moistened with wax remover and lifted away with a scraper works in most cases. A waxing iron can help when the klister is old, thick, or cold, but the iron should then heat through the paper and never be placed directly in the klister.
Before a new traditional hardwax or klister application, a light lengthwise roughening is often good for adhesion. Finish the glide surfaces first, use the correct grit for the method, and wipe away all sanding dust. Integrated skins should never be roughened.
No, use a product explicitly intended for integrated skins. Regular wax remover can affect the fibers or the glue. Spray Skin Cleaner onto Fiberlene, wipe gently, and let the skin dry at room temperature.
Yes, before longer storage a fresh layer of soft glide wax can be left unscraped on the glide surfaces for protection. The kick zone, however, should be clean and dry. Scrape and brush off the storage wax before the next ski outing.
Yes. The glide surfaces in front of and behind the skin are maintained like other glide surfaces and can be cleaned with glide wax cleaner. Just make sure the product does not get on the skin itself, and use separate Fiberlene there.
Vallaboden's conclusion
The goal is not to use as much cleaner as possible. The goal is to remove what interferes with the next waxing and then leave a clean, dry, and well-prepared surface.
Work methodically, change paper often, and keep tools for grip and glide separate. That makes cleaning faster, less messy, and significantly safer for the base.