

Clean ski
The base must be clean, dry and thoroughly brushed. Dirt or old wax between layers reduces both adhesion and finish quality.
Vallaboden - fluorine-free race waxing
Build a durable and fast race glide with START's fluorine-free RG system. Here you get the complete workflow from primer and hard base to temperature-specific wax, gel, finisher and specialty products.
You do not need to use every layer every time. Primer, hard base and the day's liquid wax already provide very good race glide. Gel and spray are added when you want to go further.
Surprisingly simple
This approach is based on Skidvalla.se's own tests of START's fluoro-free RG system. The base layers provide durability, the temperature-specific wax adapts the glide, and the final layers are used when every hundredth counts.
The base must be clean, dry and thoroughly brushed. Dirt or old wax between layers reduces both adhesion and finish quality.
START RG Race Base is followed by a durable layer of RG Ultra Green. The hard base layer is used regardless of the day's temperature.
Choose red, purple or blue RG Ultra Liquid according to temperature, humidity and snow. Cork or iron it in using the method below.
The gel topcoat is the normal race layer. Finisher Spray is an optional extra for selected conditions and should be tested before racing.
Step 1
This foundation helps the race layers stay in place. It is particularly valuable on hard, icy or abrasive artificial snow with high loads near the steel edge.
Start with a clean ski. Brush from tip to tail and remove all loose wax dust. If the base is dirty, clean it first using the guide to cleaning alpine skis.
Iron an even layer of primer into the entire base. The recommended iron temperature is 110 °C. Keep the iron moving and use enough wax for smooth movement without smoke.
Let the primer cool, scrape with a sharp acrylic scraper and brush until the structure is clean and clearly visible. The primer belongs in the base, not as a visible layer on top.
Iron in a generous but even layer of the hard green wax. It provides a durable foundation regardless of the day's temperature. Follow the product's iron temperature of 150 °C and work steadily, keeping the iron moving at all times.
Scrape thoroughly after cooling. Then use a bronze brush for about 10-15 strokes with medium pressure. With a fine steel brush, 4-6 controlled strokes are normally enough. Stop when the structure is open and free of wax residue.
Step 2
The temperature ranges overlap deliberately. Air temperature is a starting point, but snow moisture, age and abrasiveness often determine the best choice.
For mild, humid conditions, wet snow and conditions where suction and water film need managing.
A broad middle range for frozen winter snow. Often a natural first choice in typical winter cold.
For colder snow where friction is drier and crystals can be harder and more abrasive.
Shake the bottle and spread the wax evenly over the entire base with the built-in sponge.
Wait until the surface is white and dry. Two minutes is a practical minimum, but longer drying often gives a more consistent result.
Work the wax in thoroughly with a hand cork or roto cork. Cork evenly over the whole ski without generating excessive heat in one spot.
Brush about 10 strokes with medium nylon and finish with a fibre cloth. The surface should feel dry, even and free of white carrier residue.
Apply an even layer and let it dry until a white film forms.
This tested alpine method uses one steady, continuous pass from tip to tail. You can see the film melt into the surface.
Never stop the iron. The aim is to bond the liquid layer, not heat the base as in normal hot waxing.
Brush about 10 strokes with medium nylon and finish with a fibre cloth. Then apply gel topcoat if continuing to step 3.
Steps 3 and 4
Gel is the final standard race layer on the fully waxed ski. Only add Finisher Spray afterwards if you want to try an extra layer and can test it in the relevant conditions.
For mild, damp snow. Bring both the ski and the bottle to room temperature before application.
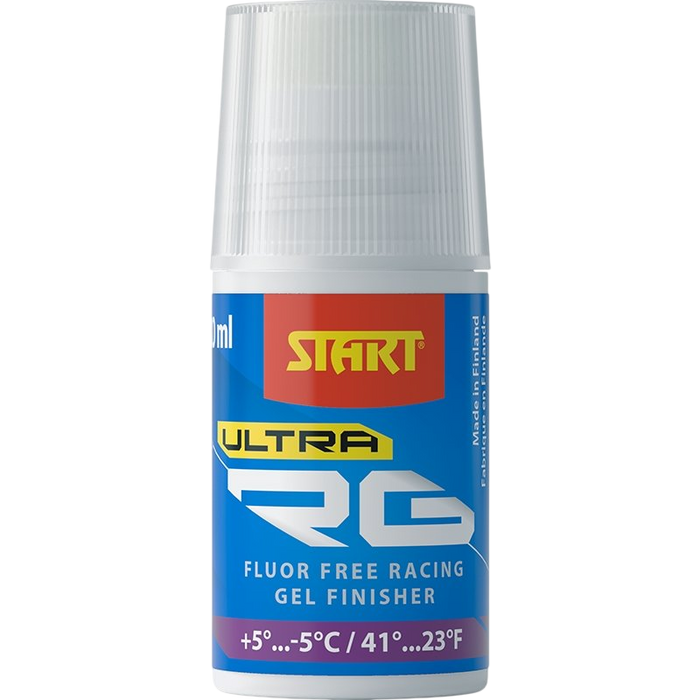
A versatile top coat for temperatures around freezing and typical winter conditions.
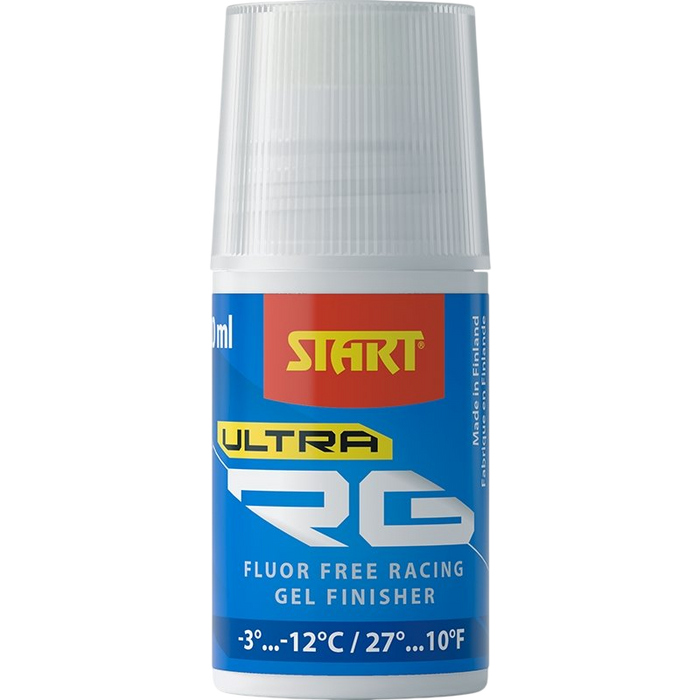
For colder snow and harder winter conditions that call for a drier, more durable top coat.
Let both reach room temperature. Shake the bottle thoroughly before you start.
The gel is water based and must be worked in while wet. Cork until the layer feels even and the surface is no longer wet.
Use clean Fiberlene or another lint-free cloth. Do not leave sticky carrier residue on the base.
Start with medium nylon or horsehair, using about 5-10 strokes. Finish with 5-10 strokes of soft nylon and polish with a fibre cloth.
Apply a light, even coat across the entire base. A thick layer is harder to make completely uniform.
Spread with a clean application cloth or a nitrile-gloved finger. Then let the surface dry.
Work the layer in lightly with a cork, brush with medium nylon or horsehair, then finish with soft nylon and a fibre cloth.
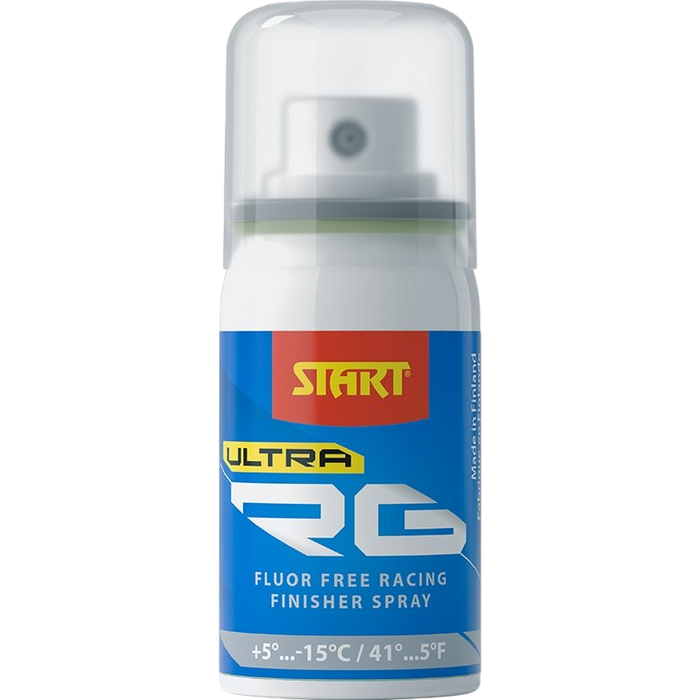
The spray can make a big difference in some conditions, but it is not automatically better every day. Ideally, compare two pairs of skis or test it during training.
Specialist products
Do not use these products out of habit. They are specialist tools for specific snow types and are blended into the temperature-specific wax before corking.
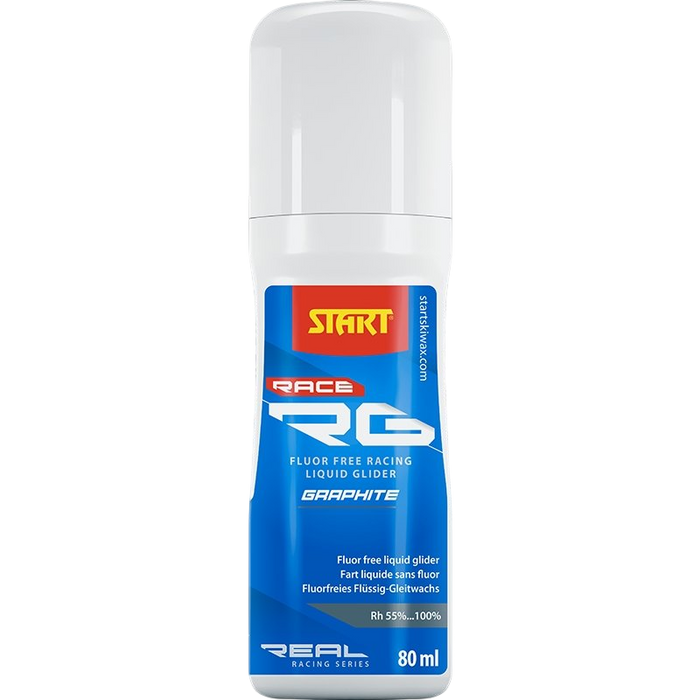
For very cold fresh snow and abrasive, squeaky snow. First apply the day's liquid wax and let it turn white. Then apply graphite over the layer and cork the products together. Start at about 50/50 and increase the graphite proportion as the snow becomes noticeably slower.
For coarse, old, transformed or dirty snow, and often particularly useful on refrozen artificial snow. Apply molybdenum over the dried temperature-specific wax and cork the layers together. Start at about 50/50 and adjust according to how dirty and transformed the snow is.
Essential equipment
You can use hand tools for this method. A roto cork saves time and applies energy more evenly across the surface, but clean brushes and a sharp scraper matter more than buying everything at once.
Waxing irons, a sharp acrylic scraper, a bronze brush or fine steel brush, and a softer nylon brush for the final finish.
A hand cork or roto cork from corks and blocks, medium and soft nylon brush, optionally a horsehair brush, plus clean Fiberlene or a fibre cloth.
Products in this guide
Choose products to suit the temperature and snow type. The product groups follow the same layer order as the method above.
The two layers that build durability and help the day's race wax stay in place.
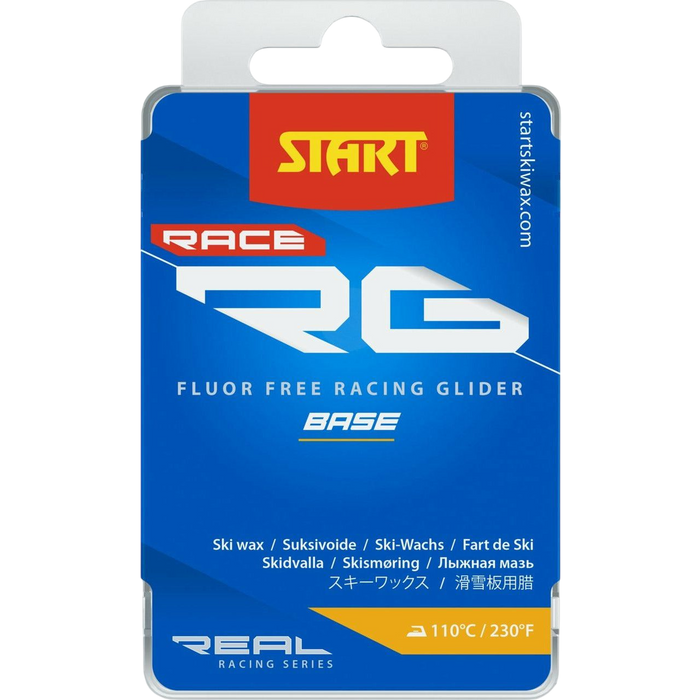
Start
The first layer that bonds to the base and gives the next wax layer a durable foundation.
All temperatures. The product’s recommended iron temperature is 110 °C.
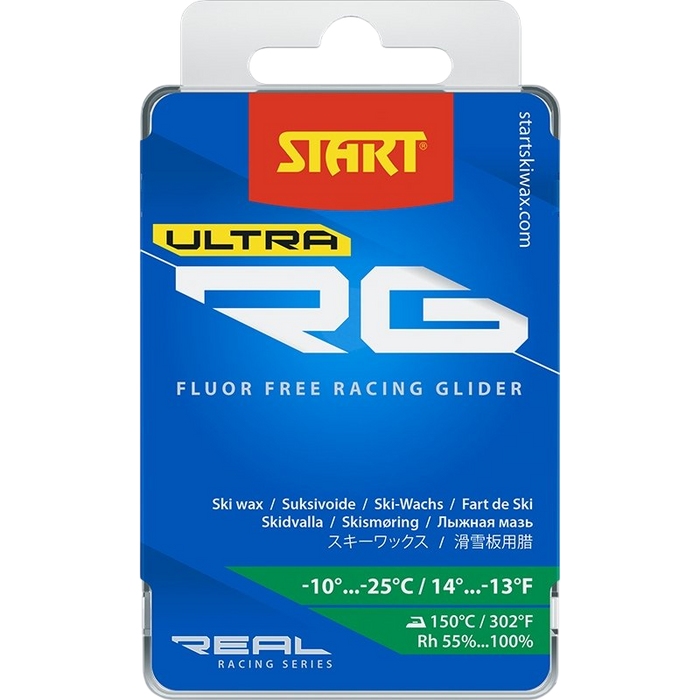
Start
A durable layer that protects the base and is used under the day’s temperature-specific wax.
-10 to -25 °C. In this method it is used as a hard base regardless of today’s temperature.
Choose red, purple or blue RG Ultra Liquid to suit the temperature, moisture and snow.

Start
Liquid RG Ultra for mild, wet and humid snow.
+10 to -2 °C and 70-100% humidity.
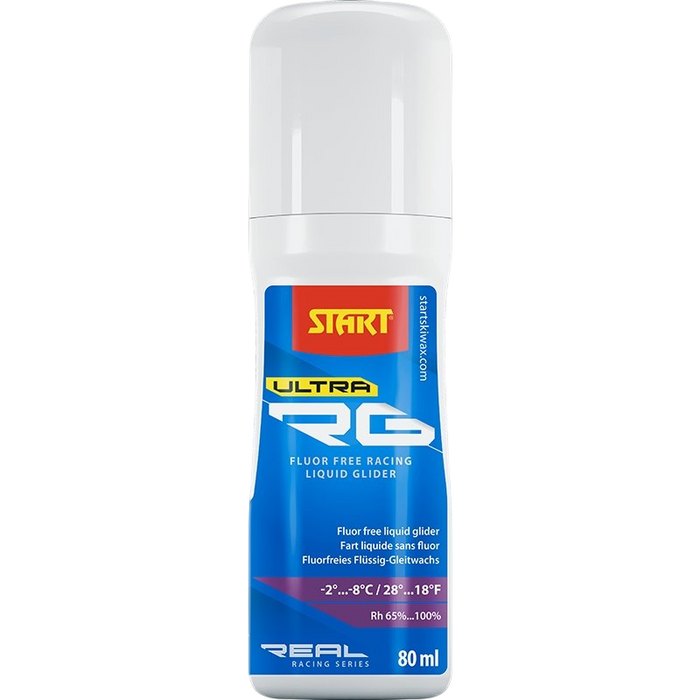
Start
A broad liquid race option for frozen winter snow.
-2 to -8 °C and 65-100% humidity.
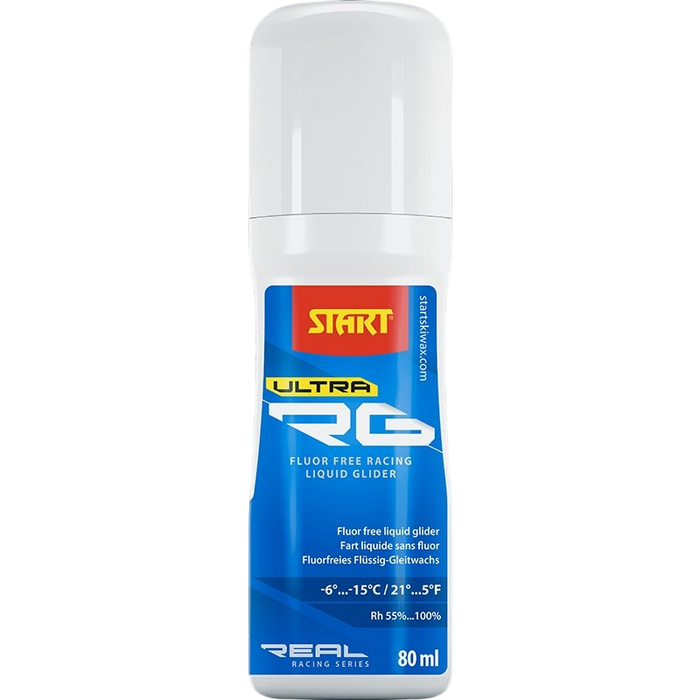
Start
Liquid RG Ultra for colder, drier and harder winter conditions.
-6 to -15 °C and 55-100% humidity.
The top coats used to maximise the finish before the start.

Start
Water-based gel topping for mild and humid conditions.
+10 to -2 °C. Cork in while the gel is wet.
Start
Versatile gel topping for temperatures around zero and normal winter cold.
+5 to -5 °C. Shake and bring the bottle to room temperature before use.
Start
Gel topping for colder winter conditions.
-3 to -12 °C. Finish with soft nylon and fiber cloth.
Start
A versatile final spray layer that can provide extra release and acceleration in the right conditions.
+5 to -15 °C. Preferably test before race day.
Specialist products for cold fresh snow and for old, transformed, dirty snow respectively.
Start
Graphite additive for very cold fresh snow and abrasive squeaky snow.
Applied on top of the dried temperature-specific wax and corked together, often around 50/50 as a starting point.
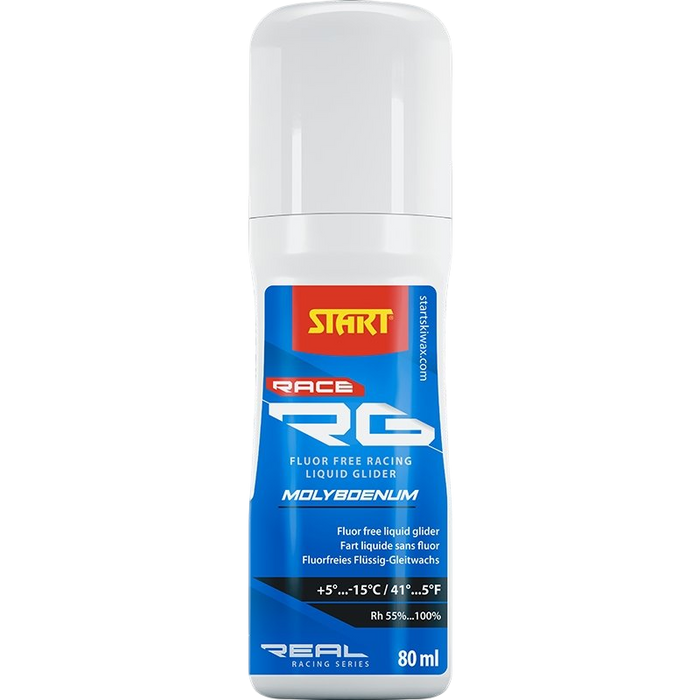
Start
Molybdenum additive for coarse-grained, transformed, dirty and man-made snow.
Applied on top of the dried temperature-specific wax and corked together, often around 50/50 as a starting point.
Common mistakes
Race waxing is less about applying a lot of product and more about clean, thin, evenly worked layers.
New layers bond less effectively over dirt and wax residue. Clean, scrape and brush thoroughly at every stage.
The hard green wax requires a high temperature. A thin, dry layer increases the risk of overheating the base.
Corking before the alcohol carrier has fully evaporated leaves an uneven layer with more carrier residue.
Cork the gel top coat in immediately and work it until the layer is even. Wipe away excess before brushing.
Contaminated brushes and corks can transfer fluorine to the finished ski. Use clean, dedicated tools.
Finisher Spray can work very well in the right conditions, but do not apply it blindly on race day. Test it beforehand if possible.
Graphite and molybdenum serve different purposes. Graphite targets cold fresh snow; molybdenum targets old, coarse, dirty snow.
White dust, wet residue or a rough surface slows the skis down. Finish with clean, soft nylon and a fibre cloth before the start.
Read more
Base preparation and cleaning determine how well the race layers bond. The standard glide-wax guide is a better starting point if you do not need a full race system.
Frequently asked questions
Find answers about layers, drying times and product choice. The product label and current instructions always take precedence over general advice.
Apply RG Race Glider Base, follow with a hard layer of RG Ultra Green, and finish with RG Ultra Liquid for the day’s temperature. This gives durable and very good race glide without a topping. Apply Gel Finisher when you want to go one step further.
In this tested method, the green wax is used as a hard and durable base layer, not as the day’s temperature-specific wax. It protects the base and gives the subsequent liquid layers a durable foundation. The day’s temperature is matched in the next step.
Yes, Skidvalla.se’s alpine method has worked with one slow continuous pass and a maximum of 125 °C after the liquid wax has dried to a white film. Corking is the safest default choice. Always follow the product’s current instructions and use a temperature-stable iron.
Wait at least until the alcohol-based solution has evaporated and the surface is white and dry. About two minutes is a practical minimum at room temperature, but a longer drying time is often beneficial. Humidity, temperature and layer thickness affect the time.
The gel is water-based and does not air-dry in the same way as the liquid temperature-specific wax. It should therefore be worked in immediately. Cork until the surface feels smooth, wipe off any excess, and then brush with medium and soft nylon.
No, not automatically in every snow condition. In some conditions, the spray can provide a clear improvement, while on other days the difference is small. That is why it is an extra step and should, if possible, be compared during training or between two pairs of skis.
Graphite is used primarily in very cold fresh snow and abrasive squeaky snow. Molybdenum is used in coarse-grained, old, transformed, or dirty snow, and often on man-made snow. Both are mixed in with the day’s liquid wax before corking.
The base system usually maintains good glide for several runs, but durability depends on how aggressive the snow is. A break-in run is normally no problem. If you have applied Finisher Spray, the break-in should be kept short and the ski should be lightly brushed with soft nylon before the start.
Yes. The entire snowboard base is treated in the same way as the alpine ski base. Work in smaller sections so that ironing, application, scraping, and brushing are even across the larger surface.
The products in the guide are fluorine-free. For competition, brushes, corks, waxing irons, and the workspace must also be clean from previous fluorinated waxes. FIS applies a complete fluorine ban, so always follow current competition rules and cleaning procedures.
Personal help
Tell us the temperature, snow type, humidity and race format. We’ll help you choose the temperature-specific wax, topping, and whether graphite or molybdenum is relevant.