

After thawing and freezing
Transformed and coarse-grained snow
Rounded, larger snow grains need a softer, stickier surface than hard grip wax can normally provide.
Klister is usually the first choice.
Vallaboden - grip wax
Klister is the right choice when the snow is transformed, coarse-grained, glazed, wet, or icy. The key is a clean and properly marked grip zone, a thin durable base, and an even top layer that is allowed to become completely cold before starting.
Read the snow before the thermometer
Klister is not just a wax for above-freezing temperatures. It is used when the snow is transformed, coarse-grained, glazed, wet or icy. Fresh and fine-grained snow, on the other hand, usually calls for hard grip wax.
Rounded, larger snow grains need a softer, stickier surface than hard grip wax can normally provide.
When the track is hard and glazed, hard grip wax has too little to grip. A harder ice klister gives better contact.
When the snow contains plenty of water and the grains are coarse, you need a warmer, softer klister.
Uncovered klister can ice up when loose fresh snow enters the track. Cold klister covered with hard grip wax can then be the answer.
Hardwax or klister?
The most common mistake is choosing by air temperature and then trying to force the wax to work. First look at the snow, the track surface and how conditions have developed.
Falling or fine-grained snow can stick straight to uncovered klister.
That suggests transformed or refrozen snow with poor purchase for hard grip wax.
Water and coarse grains need a softer surface that can grip around the snow during the kick.
Sun, shade, elevation changes and fresh precipitation can create several snow types in one outing.
Choose by function
Colours and temperature ranges differ between manufacturers. Use the descriptions below as a way of thinking, and always follow the label on the product you actually use.
Foundation
A very thin, hard foundation that helps the day's klister stay on in abrasive, coarse or icy snow.
Cold and icy
For hard, icy and refrozen tracks below freezing. It can also serve as a lighter base or intermediate layer.
Around freezing
For transformed snow, changing temperatures and a mix of damp, drier or finer-grained sections.
Warm and wet
For coarse-grained, wet snow and clear above-freezing temperatures. The higher the water content, the softer the klister generally needs to be.
Underside of the ski
The dashed area shows a possible hard-wax zone. Klister is often applied over a slightly shorter area because it builds up more and grips more strongly.
Shorter and more controlled
The exact klister zone depends on the ski's camber, your weight and how the ski has been fitted. If only a hard-wax zone is marked, start inside its front and rear limits and adjust after a test ski.
What you need
Use separate tools for the grip zone where possible. Klister on glide brushes, the iron or the workbench will otherwise be carried into the next step.
Scrapes away old klister and clears the zone before solvent is used.
Base cleaner, Fiberlene and preferably Fibertex dissolve and lift residue without smearing it over the entire ski.
Light lengthwise roughening gives the base klister something to bond to. Dull the surface rather than sanding down the base.
Spray or tube klister is applied very thinly as the base and improves durability in abrasive conditions.
Choose for the snow type and temperature. Apply in a herringbone pattern or short beads, then smooth out.
A hairdryer or heat gun makes the tube and layer easier to work with. Never use an open flame on the ski.
Klister application step by step
Ideally work indoors at room temperature, where klister is easier to dispense and smooth. The final step happens outside, though: the skis must cool before you set off.
Scrape and brush the glide surfaces before roughening the grip zone. Protect the boundaries with tape if possible to keep klister and cleaner off the glide surfaces.
Remove as much old klister as possible mechanically. Then use wax remover and a lint-free cloth. Let the grip zone dry completely before continuing.
Work P80-P120 sandpaper from tip to tail within the klister zone. Wipe away sanding dust and loose fibres.
Apply base klister very thinly. Smooth spray-on base klister and let it dry according to the product instructions, without heating. Tube base klister may be ironed in as directed by the manufacturer. Smooth it and let it cool before applying the next layer.
Apply short diagonal beads in a herringbone pattern, working on one side of the groove at a time. Typical coarse-grained klister conditions need more than a few isolated dots, but the layer should still smooth into a controlled film.
Warm the tube and, if needed, the klister on the ski with a hairdryer or heat gun. Spread with your thumb, the supplied spatula or a klister brush. Avoid open flames and keep the heat moving.
Put the skis outside until the klister reaches outdoor temperature and firms up on the surface. Warm, soft klister can pick up snow as soon as you put the ski down.
For loose or fine snow over a coarse base, cold klister can be covered with several very thin layers of hard grip wax. Do this outside on cold skis and cork gently.
How much klister?
Many beginners apply too little and leave dry gaps. Others leave thick ridges that drag. Base and intermediate layers should be thin. The top layer provides the grip, but must still be even.
Dry patches, gaps and very thin spots give uneven grip and can cause the klister to wear off quickly.
A thin, unbroken film without obvious ridges. The surface should be even from side to side and lie entirely within the klister zone.
Thick edges and lumps build up under the ski, reduce glide, attract dirt and take longer to cool.
After a test ski, many small impressions in softer klister can show that snow grains have entered the surface and released again. If you also have good grip and acceptable glide, the klister is working as it should.
Watch the steps on video
The videos show cleaning, roughening, base klister and the day's klister in the same order as the steps above.
Step 2
Scrape, dissolve the residue and wipe clean before building a new wax setup.
Watch the video on YouTube - opens in a new tabStep 3
Light lengthwise roughening improves adhesion without sanding down the base.
Watch the video on YouTube - opens in a new tabStep 4
The thin foundation improves durability and helps the softer top layer stay in place.
Watch the video on YouTube - opens in a new tabStep 5
Spread the klister over the zone, smooth it out, then let the skis cool completely.
Watch the video on YouTube - opens in a new tabTroubleshoot in the right order
First check whether the snow type has changed. Then look at klister choice, zone length, amount, and whether the skis were cold when you started.
Remove klister without the mess
The cleanest method is to place the cleaning cloth directly over the klister zone, wet it with wax remover, then lift off the klister and cloth together.
First scrape away larger amounts of klister and clear the groove with a separate tool.
Tear off a piece of Fiberlene about the same length as the zone and lay it directly on the klister.
Wet the cloth with wax remover. Let it work as directed by the product, then pull away the cloth and dissolved klister with the scraper.
Clean the last residue with fresh Fiberlene and wax remover. Wipe clean and air the grip zone until the solvent has fully evaporated.
Build a useful klister kit
You do not need every product. A base klister, a harder ice klister, a violet or universal klister around freezing and a red warm-weather klister cover a large share of typical klister conditions.
Thin, hard layers that bond the wax setup to the base.
Harder klister for refrozen, abrasive snow below freezing.
Violet, universal and silver for changing tracks that are hard to judge.
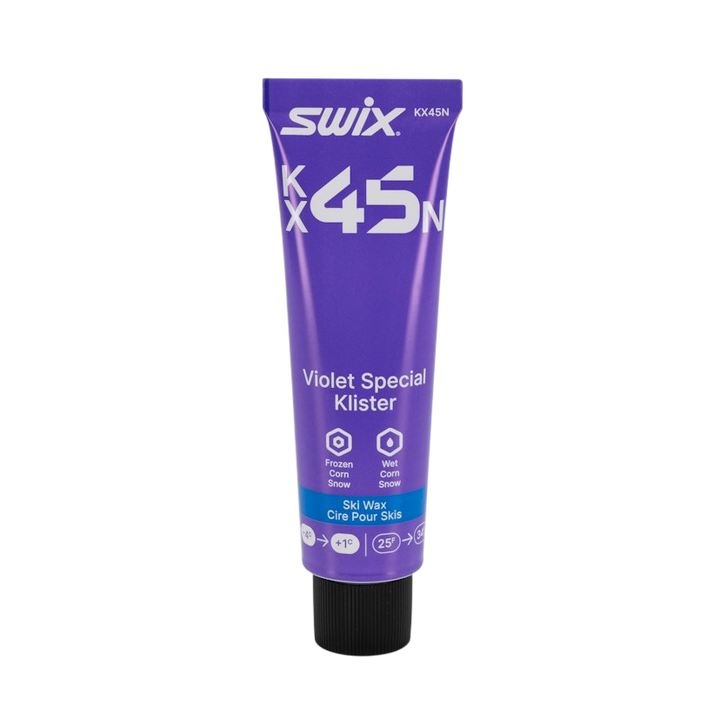
Swix
Violet special klister for coarse-grained snow when the temperature fluctuates around freezing.
Also works as an intermediate layer over base klister before a softer klister is applied on top.
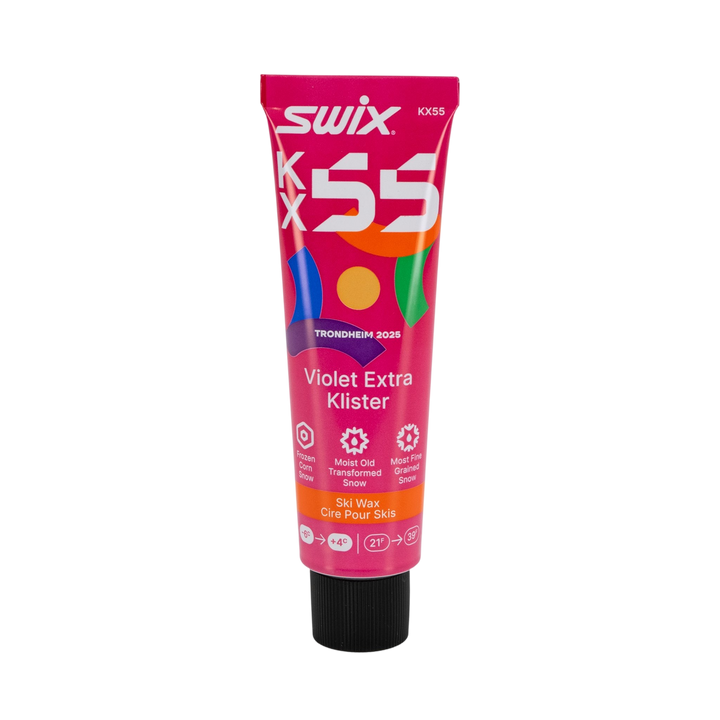
Swix
Versatile violet klister for varying conditions and somewhat finer, colder snow.
An interesting choice when a regular universal klister becomes too soft or ices up too easily.
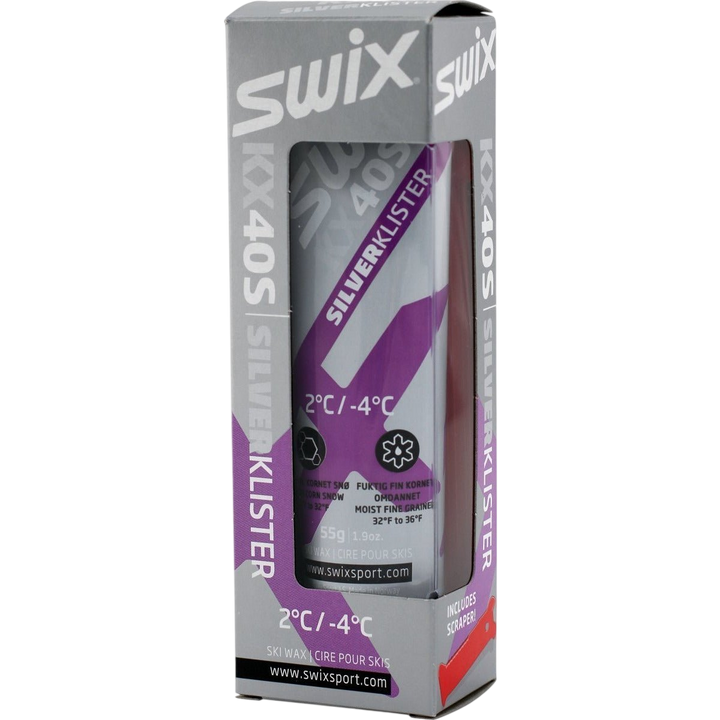
Swix
Silver klister for moist, relatively fine-grained snow and risk of icing.
Useful in hard-to-judge zero conditions where the track alternates between wetter and drier sections.
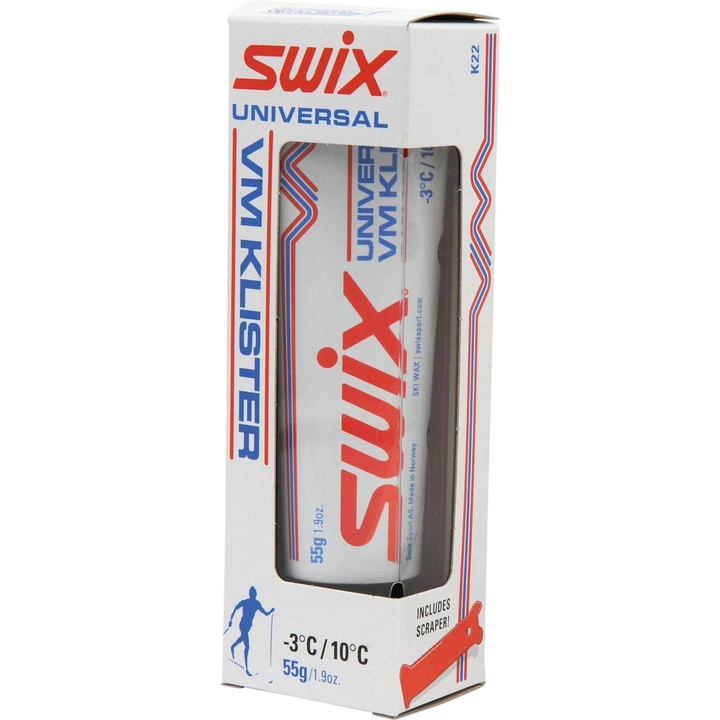
Swix
Broad universal klister for old and coarse-grained snow, from icier to wetter conditions.
A good first all-round klister for touring and training, but not an obvious choice in falling fresh snow.
Softer klister for water-rich spring snow and clear above-freezing temperatures.
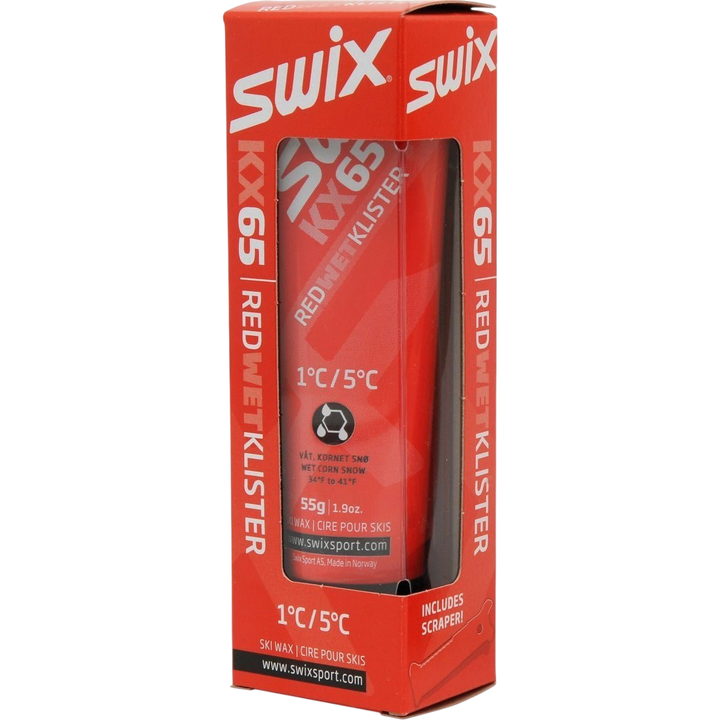
Swix
Red klister for wet, moist, and coarse-grained snow on the plus side of freezing.
Go only as warm as the snow requires. A klister that is too soft slows the ski and collects dirt.
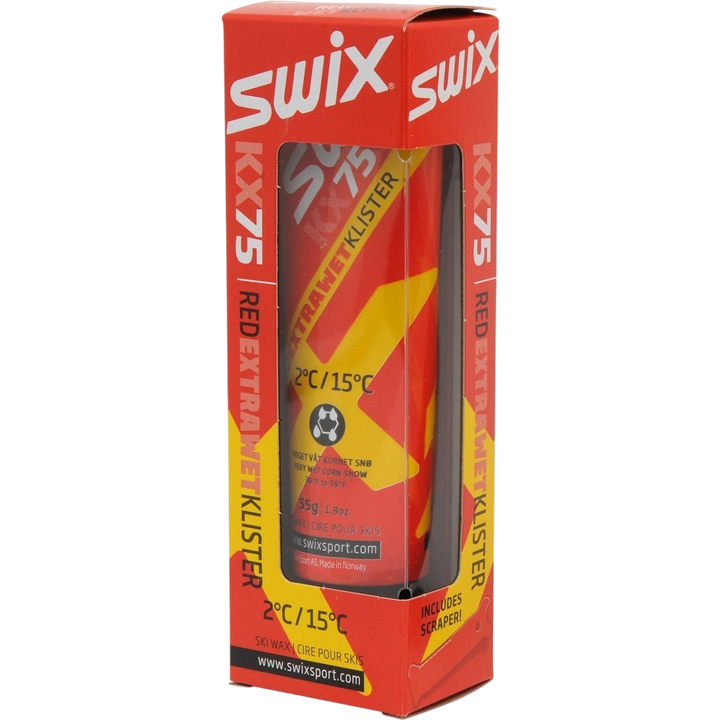
Swix
Extra soft klister for very water-rich snow, melting spring conditions, and slush.
The specialist tool for really warm Easter snow conditions - not a universal wax for ordinary plus temperatures.
Cleaning, roughening and a good groove tool make more difference than another tube applied to a poorly prepared zone.
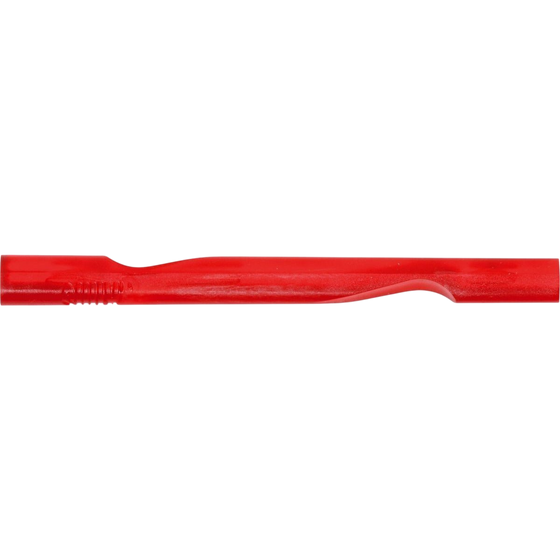
Cleans klister out of the guide groove and makes it easier to keep the zone edges clean.
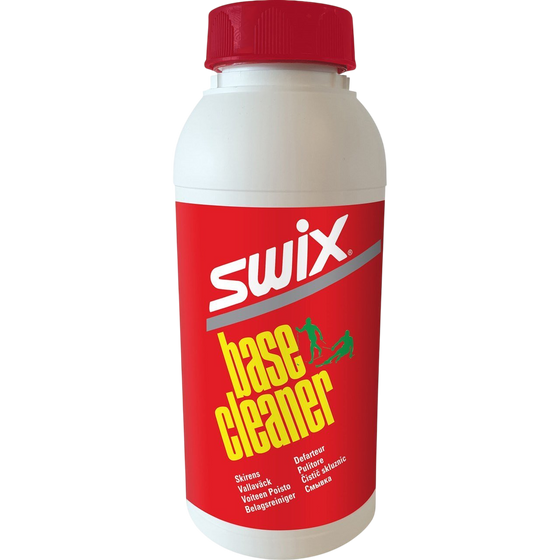
Dissolves old klister in the grip zone. Keep the product away from the glide surfaces.
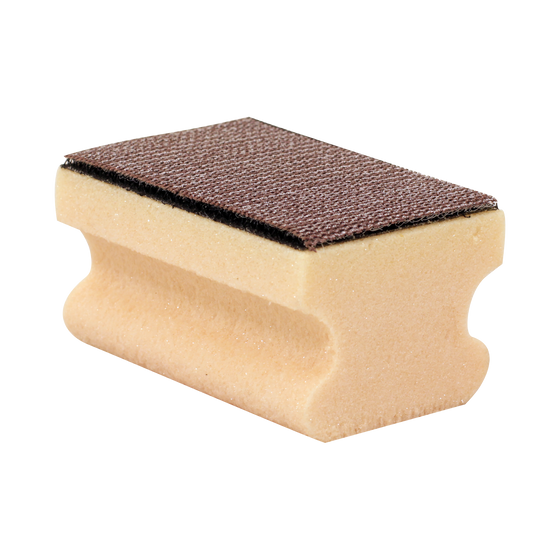
Combines synthetic cork and sandpaper for preparation and fine-tuning.
Explore further
The klister guide explains the method itself. These pages help you distinguish snow types and choose hard grip wax when klister is not right.
Learn to distinguish fresh, fine, old, coarse-grained and wet snow before choosing the wax type.
Read the guide Fresh and fine snowClean, roughen, apply base binder and build several thin layers when conditions still suit hard grip wax.
Read the guide Tricky transitionsUnderstand when to choose a harder wax, when to cover klister and when conditions have become fully suited to klister.
Read the guideFrequently asked questions
When asking us for help, describe the air temperature, snow type and whether the track is loose, glazed, icy or wet.
Normally choose klister when the snow is transformed, coarse-grained, wet, shiny, or icy. New and fine-grained snow is usually better suited to grip wax, even if the air temperature is near or above freezing.
Some klisters can be applied without heat, but the job is easier and more even at room temperature. Feel free to warm the tube and, if needed, the layer carefully with a hair dryer or heat gun. Avoid open flame and always keep the heat moving.
Base and intermediate layers should be very thin. The top layer needs to provide the grip and can therefore be more substantial, but it should be smoothed into a continuous surface without thick ridges. Too much klister impairs glide and collects dirt.
Klister builds up more under the ski and provides stronger grip. If the same long grip zone is used, the klister may stay in contact even during the glide phase. Therefore, start inside the outer edges of the hardwax grip zone and adjust according to the ski camber and test skiing.
Yes. Covered klister is used when the base is coarse or abrasive but loose, fine or new snow may enter the track. The klister must first become completely cold. Then apply several very thin layers of a relatively hard hardwax on top and cork gently between the layers.
Common causes are that the skis were warm, that the klister is too soft, or that open klister meets falling or loose fresh snow. Scrape off the snow, let the surface become cold and dry, and consider a harder klister, covering with hardwax, or a different type of wax.
First scrape off larger amounts. Then place Fiberlene over the zone, moisten the cloth with wax remover, and lift away the cloth and dissolved klister together with the scraper. Clean the last residues with a new cloth and let the zone dry completely.
The conclusion from Vallaboden
Many skiers shy away from klister because it can get messy. But the waxing itself is logical: choose klister when the snow is old, coarse, wet or icy, build a thin base, and let the top layer provide the grip.
The big difference between a successful and a failed wax job often lies in the preparation. A clean and lightly roughened kick zone, an even base klister layer, and cold skis at the start give better control than trying to solve everything with a thick string from today's tube.

