

InspectFind out what the factory or stone grind has already done.
Vallaboden - new and freshly ground alpine skis
Base preparation for new alpine skis - a good start for the base
A new or freshly ground base needs a clean and stable foundation before regular glide waxing begins. Here you get a modern workflow that preserves the structure without unnecessarily many layers of wax.
Vallaboden's main rule
Inspect and clean first. Then build a soft foundation, let the wax cool, and finish with a harder layer that is scraped and brushed clean.
CleanRemove dust and dirt without unnecessary abrasion.
Build the foundationIron in a softer base wax with calm, even movement.
StabiliseFinish with a harder wax and brush the structure clean.
Start with the ski in front of you
Not all new alpine skis need exactly the same treatment
Some skis arrive with protective wax, others are effectively ready to ski, and a freshly ground ski may need more finishing work than a factory-new one. Inspection determines how far you should go.
The ski is described as ready to use
Check the base, brush lightly and follow the ski or base manufacturer's advice. A single layer for the day's conditions may be all that is needed.
Action: do no more than the ski needs.A visible wax layer remains
Scrape off the protective layer with a sharp plastic scraper, brush clean and assess the surface before the first base waxing.
Action: remove the layer without heavy pressure.The structure is new and there is grinding dust or microhairs
Clean thoroughly and use fine Fibertex only when microhairs are actually present. Modern grinds often need less mechanical finishing than older ones.
Action: preserve the new structure.The base is concave, convex or deeply scratched
Base wax cannot flatten a base or restore a damaged structure. Flattening, repair or stone grinding is needed instead.
Action: have a workshop assess the ski.Base preparation is not the same as applying many thick wax layers
The goal is a clean, even, stable base with a clear structure. Extra repetitions are justified only when the base structure and intended use actually require them.
Three levels of preparation
Match the amount of work to the ski and its use
The family's new piste skis need a reliable, durable start. A freshly ground race ski with a fine cold-snow structure may need more finishing. A coarse warm-snow structure should instead undergo fewer ironing and scraping cycles.
A simple, durable start
For ordinary new alpine skis used for family skiing, ski holidays and training.
- Inspect and brush
- Clean if needed
- One softer base layer
- One harder finishing layer
Freshly ground or fine cold-snow structure
A very fine structure may need extra work to remove microhairs and stabilise the base.
- Fine Fibertex only when needed
- Soft wax for cleaning and the foundation
- Iron the harder wax in again
- An extra hard-wax layer can be added
Workshop or race service
For uneven bases, unknown structures, transparent specialist bases or skis where every detail needs documenting.
- Check flatness and structure
- Base-specific work sequence
- Separate clean tools
- Tested finishing wax for the current conditions
Workflow
Base prep new alpine skis step by step
Always follow the temperature stated on the wax and keep the iron moving. The process below is a sound starting point for most new or freshly ground alpine skis.
Let the skis reach room temperature and secure the brakes out of the way
Skis, wax and tools should be dry and at a stable temperature. Secure the ski in a steady holder and use strong brake retainers or rubber bands.
SafetyWork with good ventilation on a clean waxing bench where the ski cannot move.Inspect the factory finish or fresh stone grind
Check for protective wax, structure, microhairs, grinding dust and scratches, and whether the base looks even from tip to tail.
PauseIf the base is uneven or the structure damaged, assess the problem before applying more wax layers.Scrape off any protective paraffin wax
Use a sharp plastic scraper and work from tip to tail. Keep pressure light and remove wax covering the steel edges too.
Sharp scraperA blunt scraper requires heavy pressure and can make the new structure less distinct.Brush and clean the base
Brush lightly with a clean fine steel or bronze brush. Use glide wax cleaner and Fiberlene when there is grinding dust, dirt or old factory wax. Let the surface dry completely.
FibertexUse fine Fibertex only when you can actually see or feel microhairs. Polish lightly and preserve the structure.Iron in a softer layer of base or saturation wax
Spread an even, fairly thin layer over the whole base. Set the iron according to the wax instructions and move it continuously from tip to tail.
The right amountThere must be wax between the iron and base throughout, but a thick layer mainly creates more scraping work.Let the wax cool to room temperature
Wait at least as long as the product specifies. Ten minutes is a common minimum, but longer cooling - overnight, for example - is beneficial when time allows.
Avoid the coldDo not put the ski outside to speed up cooling. Rapid, uneven cooling is not the aim.Scrape and brush to reveal the structure
Scrape with a sharp plastic scraper until no distinct wax shavings come off. Then brush lengthwise with a bronze or fine steel brush.
CheckThe structure should be visible and clean. Wax left on top of the base slows the ski down.Apply a harder stabilising layer
Iron in a harder glide wax suitable for base preparation. On a fine cold-snow structure, the wax can be reheated after cooling before the final scraping and brushing.
Follow the base's needsOn coarse warm-snow structures and transparent bases, you normally use fewer ironing and scraping cycles to keep the structure sharp.Finish according to how the skis will be used
If the skis will be used straight away, scrape and brush the hard layer and apply the day's wax if needed. If they will be stored for a while, leave the final layer as protection.
Next stepRemove the protective layer before preparing the ski for use.
The structure determines the finishing work
Fine cold-snow and coarse warm-snow structures need different treatment
The basic principle is the same, but the amount of Fibertex, ironing heat, scraping and repeated layers must be adapted to preserve the ground structure.
Fine structure for cold, dry snow
A very fine structure may carry small polyethylene fibres after grinding and usually tolerates more finishing work than a coarse warm-snow structure.
- Check for microhairs
Use fine Fibertex lightly only when the surface actually needs polishing.
- Clean and apply a soft foundation
The softer layer helps collect dirt and provides an even start.
- Build with harder wax
Iron in, let cool, scrape and brush. An extra hard-wax layer may be appropriate after stone grinding.
- Preserve a clear, fine structure
Use a sharp scraper and clean brushes rather than heavy pressure.
Choose wax by its role
Soft base wax and a harder finishing layer do different jobs
Colour names vary between manufacturers. Read the product's temperature range, intended use and instructions instead of relying only on whether the wax is yellow, blue, green or black.
Cleaning, foundation and even ironing
A soft base or saturation wax has a low melting point and spreads easily. It is used first to give the base a clean, even foundation.
Example: warm-condition base wax or cleaning and saturation wax.Stability and wear resistance
A harder layer after the soft foundation helps stabilise the surface and is particularly useful when the ski will meet cold or abrasive snow.
Example: hard blue wax or a colder hydrocarbon wax from the system you use.Quick finish - a different process
Liquid glide wax is excellent as a quick skiing wax or finish on a prepared base, but normally does not replace the first hot waxing of a brand-new or freshly ground base.
Use it after base preparation when you want to adjust glide quickly.Not a mandatory final step
Green or black wax and graphite are not universal requirements. Choose the product according to the base, snow, wear resistance and waxing system you use.
Follow a documented product recommendation, not the colour alone.Normal base preparation need not mean four repeated hot scrapes
For most new alpine skis, careful cleaning, a softer base layer and a harder stabilising layer are enough. Add more cycles only when a freshly ground cold-snow structure, a dirty base or a documented race method justifies them.
Common mistakes
The new base should be improved - not worked more than necessary
Most problems arise when the iron is too hot, the scraper is blunt, Fibertex is used out of habit or poor technique is compensated for with lots of wax and heavy pressure.
Fibertex on an already smooth base
First check whether microhairs are actually present. Mechanical treatment should have a clear purpose.
An overheated or stationary waxing iron
Follow the wax temperature setting and keep the iron moving so the base does not overheat.
Too much wax
A continuous layer is needed, but large amounts do not improve the base and create unnecessary waste.
A blunt scraper and heavy pressure
Sharpen the scraper. Heavy pressure with a blunt edge can round off or obscure the new structure.
Dirty brushes and waxing irons
Use clean tools for base preparation so old dirt or older fluorinated products are not transferred to the base.
Using the ski without scraping off the wax
Protective wax can remain during storage, but the base must be scraped and brushed clean before skiing.
Products in working order
Equipment for controlled base preparation
Here you will find products suited to the process. Choose what matches the ski and your desired level of preparation - not every product is needed on every pair.
1. Inspect and clean
Clean cloths, a suitable brush and fine Fibertex only when a new or freshly ground surface actually needs polishing.
-
Fine steel brush
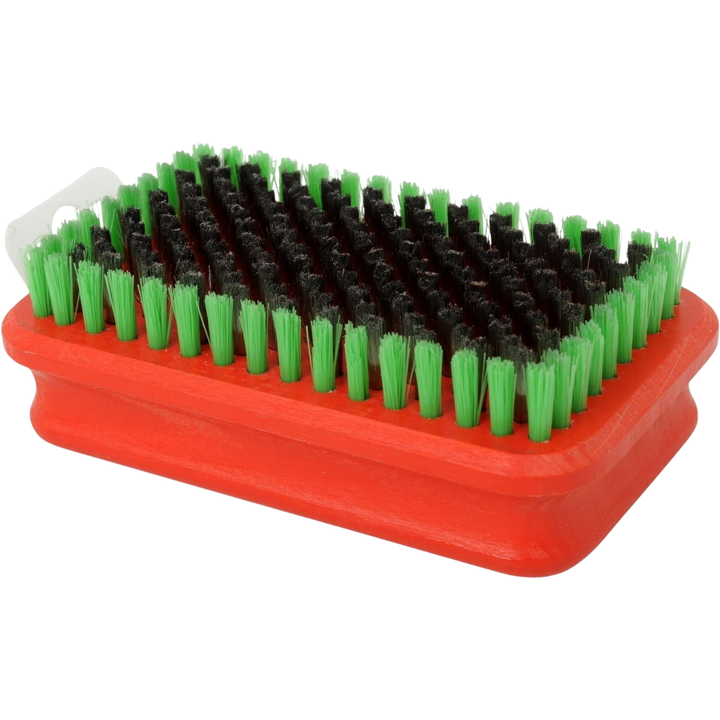 Available to order
Swix
Swix Rectangular Steel Brush Fine
Cleans the structure and shows whether the new or freshly ground surface is even.
Brush with a clean brush from tip to tail using controlled pressure.
-
Fine Fibertex
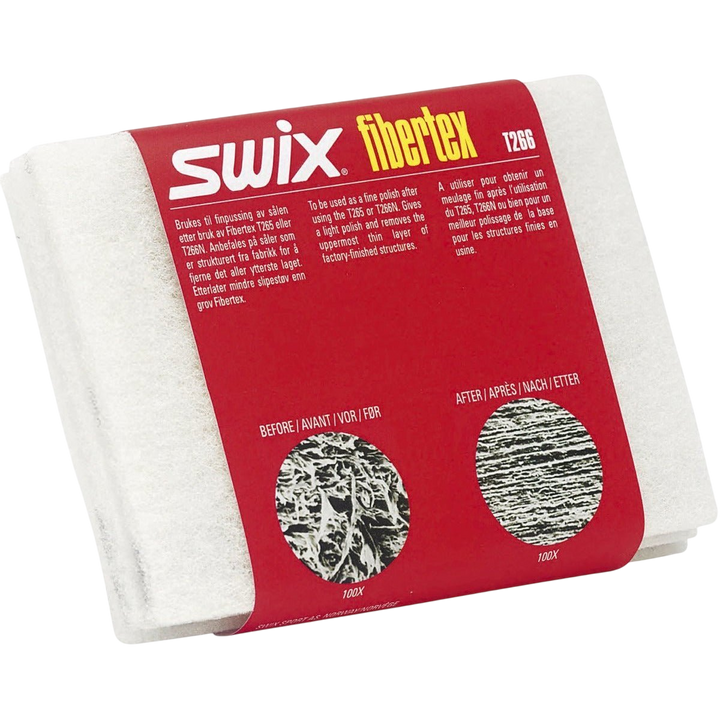 Available to order
Swix
Swix Fibertex Fine
Removes very fine microfibers on freshly stone-ground bases when brushing is not enough.
Use sparingly and only when micro-hairs are actually visible or can be felt.
2. Build the first foundation
Softer base or saturation wax, a stable waxing iron and a sharp plastic scraper.
-
Base prep
 Available to order
Swix
Swix BP88 Base Prep medium-hard base wax 180 g (0 to -10 °C)
Medium-hard base wax for a stable and easy-to-work base.
Can be used as a base, transport protection, or training wax according to the product instructions.
-
Waxing iron
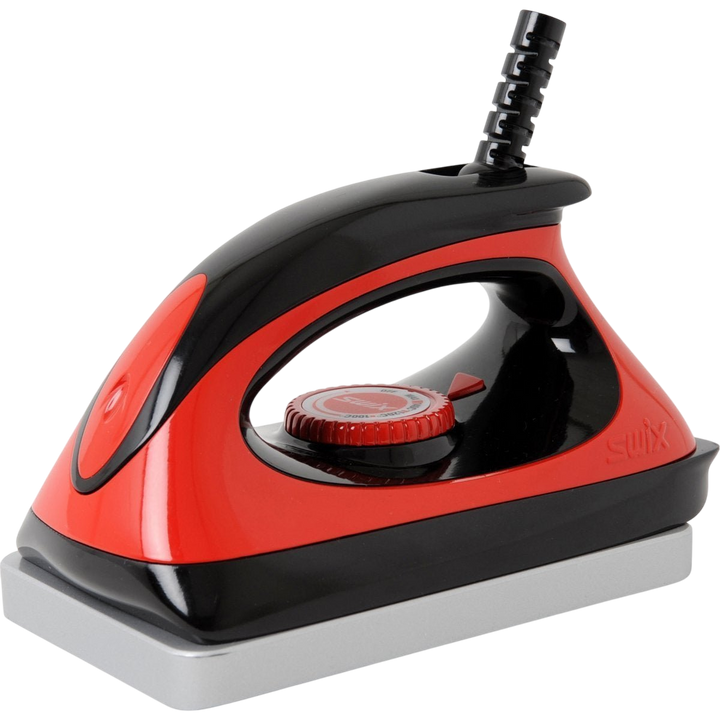 Available to order
Swix
Swix T77 Waxing Iron
Provides even and controlled heat application across the entire alpine base.
Set according to the wax instructions and never stop on the same spot.
-
Plexi scraper
 Available to order
Swix
Swix Plexi Scraper 3 mm
Scrapes off the cooled wax layer and exposes the structure.
Sharpen often. A sharp scraper requires less force and preserves the structure better.


3. Stabilise and finish brushing
A harder wax and clean brushes to open the structure and provide an even finish.
-
Bronze brush
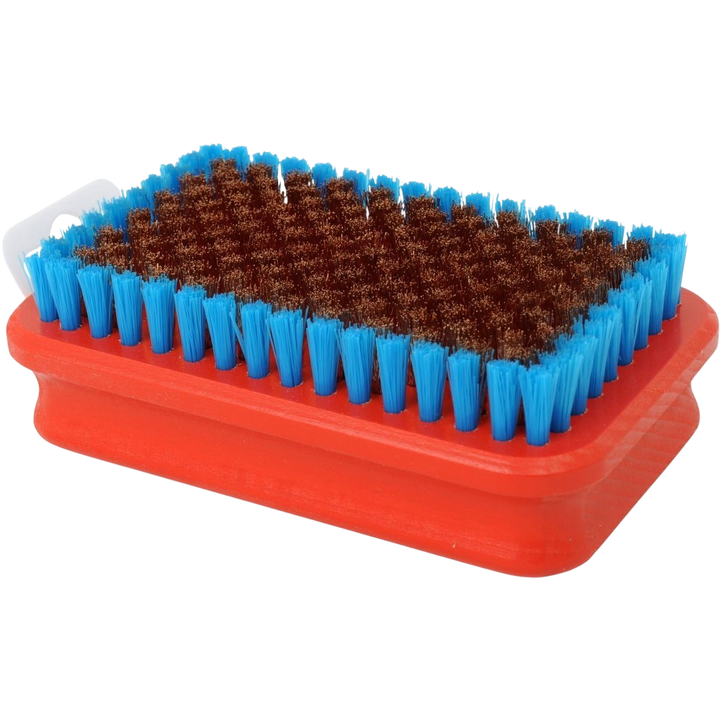 Available to order
Swix
Swix Rectangular Medium Bronze Brush
Brushes out the structure after scraping and removes remaining wax dust.
Work from tip to tail until the structure is clean and clearly visible.
-
Fine nylon
 Available to order
Swix
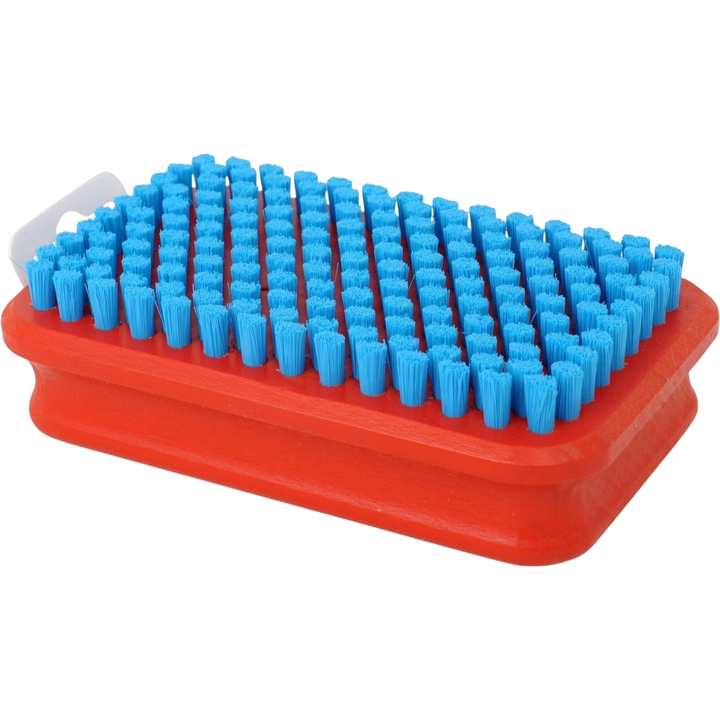
Swix Rectangular Fine Nylon Brush Blue
Provides the final clean and even finish before the day’s wax or skiing.
Finish with light, long strokes and wipe away loose dust.
Continue in Vallaboden
Related alpine ski guides
Base preparation provides a stable start. Then move on to routine glide waxing, cleaning, storage or a closer look at tools and bases.
Next step
Glide wax alpine skis
Apply the day's wax, scrape and brush once base preparation is complete.
Read the guide CleaningCleaning alpine skis
Choose between dry brushing, glide wax cleaner and hot scraping when the base gets dirty later.
Read the guide Simple waxingWax the family's alpine skis
An accessible method for ongoing glide and ski care after the first base preparation.
Read the guide StorageStoring alpine skis for summer
Clean the skis and leave a protective layer on when the season ends.
Read the guide Waxing ironsChoose the right waxing iron
Compare the plate, temperature stability, power and controls for different levels of ambition.
Read the guide BrushesHand brushes and roto brushes
See when fine steel, bronze, horsehair and nylon brushes are used in the process.
Read the guideFrequently asked questions
Questions about alpine ski base preparation
Answers to common questions about new skis, base wax, cooling and finishing.
Sometimes. Some skis are delivered factory-brushed and waxed, while others have a simple transport protection layer. Check the base and feel free to ask the retailer what has already been done. A normal hot wax is still a good and simple start before the first day on snow.
For most new family and training skis, one softer base layer and one harder finishing layer are sufficient. A freshly stone-ground or very dry base may justify additional work. Let the ski, the structure, and the intended use determine the process rather than a fixed number.
A soft base or saturation wax has a low melting point and is easy to spread evenly. It provides a gentle first foundation before a harder layer is used for stability and durability.
No. Colors do not mean exactly the same thing for all manufacturers. Choose the product based on its role, temperature range, and recommended iron temperature. Follow the documentation for the wax system you are using.
Follow the instructions for the specific product. Ten minutes at room temperature is a common minimum, but longer cooling can be beneficial. The ski must be completely cool before normal scraping.
Yes, some documented methods recommend reheating the same layer after cooling, especially on a fine cold structure. Add more wax if needed and follow the product’s temperature recommendation. The iron should always glide safely and be kept moving.
No. Fine Fibertex is used when there really are micro-hairs after stone grinding. A smooth and even factory-prepared base should not be worked unnecessarily. Brush and assess the surface first.
It may be caused by remaining wax dust, insufficient brushing, microhairs or a dry or heat-affected base. Brush thoroughly and inspect the surface. A white area near the steel edge that quickly returns may be ice burn or other base damage.
Yes, when the skis are to be stored. A full-coverage protective layer can remain until they are to be used. Then scrape and brush off the layer. Skis that are to be skied immediately must be fully scraped and brushed.
Yes. Use modern fluorine-free waxes and clean tools. If brushes, scrapers, or waxing irons have previously been used with fluorinated products, they need to be handled according to the separate guide for fluorine cleaning.
A good start lasts a long time
Lay a well-thought-out foundation - then move on to regular ski care
The base preparation should create a clean, even, and stable base with a clear structure. For most skis, a soft foundation and a harder finishing layer are sufficient.
When that work is done, continue with regular glide waxing based on snow conditions and use.