A quick boost before your next outing
Apply a thin coat of liquid glide wax, let it dry as directed on the bottle, then polish or brush. A big improvement for little effort.
Vallaboden - glide wax
Better glide is as much about the workflow as it is about the wax. Choose the right level of ambition, heat safely, let the ski cool, and then remove all excess so that the base structure is left clear.
Choose your level of preparation first
Not every wax job needs to be race preparation. Choose a method based on the time you have, how long the glide needs to last and how thoroughly you want to work.
Apply a thin coat of liquid glide wax, let it dry as directed on the bottle, then polish or brush. A big improvement for little effort.
Iron in solid glide wax, let the ski cool, scrape off the excess and brush out the structure. This improves durability and keeps the base in better condition.
Start with a clean, well-saturated base, apply the day's glide wax, scrape and brush methodically, and add fluorine-free topcoats and structure if needed.
Solid or liquid glide wax?
Liquid wax is the easiest way to improve glide regularly. Ironed-in solid wax generally lasts longer and helps you care for the base over time.
| Feature | Liquid wax | Solid wax |
|---|---|---|
| Effort | Quick application, drying and polishing. | Waxing iron, cooling, scraping and brushing. |
| Durability | Good for shorter sessions and regular maintenance. Varies considerably between products. | More durable and especially valuable on longer outings and abrasive artificial snow. |
| Tools | Applicator or felt pad, nylon brush and preferably Fiberlene. | Waxing iron, groove scraper, sharp plastic scraper and brushes. |
| Best when | You want to improve glide quickly or top up a ski that has already been hot waxed. | You want to build a durable foundation and give the base a thorough service. |
| Common mistake | Too thick a coat or insufficient drying time. | An iron that is too hot, or insufficient scraping and brushing. |
Swipe sideways to see the full comparison.
The snow matters more than the colour
The temperature range on the packaging is your starting point. Snow age, moisture and how abrasive the track is all affect the choice of hardness, durability and structure.
Cold snow is hard and abrasive. Generally choose a harder wax that withstands wear, and take extra care with a sharp scraper.
Sharp crystals create more friction than rounded, older grains. Follow the product's recommendation for fresh snow and avoid choosing solely by air temperature.
Larger, rounder grains behave differently from fresh snow. Black additives and special waxes for transformed snow may be useful when the track is dirty or abrasive.
As the water film increases, drainage and base structure become more important. Softer hot waxes and liquid products for warmer conditions can help, but wax cannot compensate for the wrong structure.
Blue, violet and red provide a rough guide, but temperature ranges and applications differ between ranges and manufacturers. Always follow the label on the product you are using and note whether the range refers to air or snow temperature.
Solid glide wax with a waxing iron
The method is simple once you know the sequence. The key points are the right temperature, keeping the iron moving, thorough cooling and removing all excess wax.
Work with the ski securely fixed. On classic skis, wax the glide zones in front of and behind the grip zone. Keep glide wax and the iron away from skins, fishscales and grip wax. On skate skis, wax the entire base.
Brush in the direction of travel to clear the structure. If the base is visibly dirty or loaded with old wax, clean it more thoroughly before continuing.
Deep cleaning is not needed before every session.Different waxes require different temperatures. Let the iron stabilise and do not use one general temperature for every wax in your kit.
The wax should melt easily without smoking.Drip wax on both sides of the groove or crayon the wax onto the base. Aim for a continuous film as the iron passes, not thick puddles.
Keep the iron moving and distribute the wax evenly. Adjust your speed to the wax instructions and the length of the glide zone. Heat one glide zone at a time on classic skis.
Never leave a hot iron stationary on the base.Let the ski return to room temperature and follow the wax's specified cooling time. Do not start scraping while regular glide wax is still warm and soft. Hot scraping with cleaning wax is a separate cleaning method.
Remove wax from the groove before scraping the glide surfaces. The remaining wax then protects the base if the groove scraper slips.
Work from tip to tail with controlled pressure. A sharp scraper should cut away the wax without you having to press hard.
Sharpen the scraper often. A blunt scraper is both slower and less gentle on the base.Start with a steel or bronze brush to clear the structure. Finish with a fine nylon brush and wipe away wax dust with Fiberlene. Horsehair can be used as an extra intermediate step.
Two things that protect the base
Excessive heat is the clearest risk, but too little wax can also cause poor heat distribution. The wax should form an even film between the iron and the base.
Set the temperature specified on the wax and let the iron stabilise before starting.
Enough for even coverage, but not so much that most of it ends up on the floor when scraping.
Glide is created after ironing
The heated wax needs to work into the base. Anything left on top after cooling must be removed, otherwise it fills the structure and slows the ski down.
Clear the groove and edges first, while the glide surfaces are still protected by wax.
Scrape from tip to tail until no continuous wax streaks remain.
Clear the structure with controlled strokes in the direction of travel and brush away residue.
Polish the surface and wipe away the last fine wax dust.
The first brush after scraping. It reaches into the structure and removes wax the plastic scraper cannot reach.
A useful intermediate step that removes finer residue gently. Its exact place in the brushing sequence varies between waxing systems.
Finishes the job, polishes the surface and brings out the finest part of the structure without being aggressive.
Read the base
A well-prepared glide surface is even and clean, with visible structure. When something looks wrong, more wax is not always the answer.
May indicate drying, wear, or old wax and dirt that need removing.
Brush, clean if needed and hot wax with a softer base or cleaning wax.If the surface looks varnished and the structure disappears, there is probably too much wax left on it.
Keep scraping with a sharp scraper and brush until the structure is clear.Wax and dirt in the pattern slow the ski down, especially in damp snow.
Work more with the steel or bronze brush and wipe away wax dust between rounds.The problem may then be the wrong glide wax, an overly fine structure, or a combination of both.
Try a wax for warmer conditions and consider hand structuring or a different structure for water-rich snow.Simple waxing without an iron
Liquid glide wax is ideal when you want to improve your skis without an iron. It works best on a clean surface and lasts longer when the base already has a good hot-waxed foundation.
The surface should be free of loose dirt and old wax dust. Do not use liquid wax to seal in a dirty base.
Spread the product evenly with an applicator, felt pad or the method specified on the bottle. More product does not automatically give better results.
Follow the product's drying time. A simple universal product may be ready in a few minutes, while other liquids need around 15 minutes or longer. Drying usually works better indoors.
Use the product's felt pad, a fine nylon brush or the recommended tool. Aim for a thin, even finish with clear structure.
Finish with clean Fiberlene. The ski should feel dry and clean, not sticky, before it goes onto the snow.
Race glide without unnecessary fuss
More products only help when each layer is correctly chosen, fully cooled, and thoroughly scraped and brushed. A simple job done carefully often beats an elaborate sequence left half-finished.
Clean as thoroughly as needed and brush out the structure before starting the new wax application.
A base or training wax can provide durability and an even starting point, especially in longer races.
Choose for the temperature, snow type and track. Let it cool, then finish scraping and brushing completely.
Use only fluorine-free products and follow the method for the specific product. Fine-tune the structure to the snow.
Fluorinated waxes and tuning products are prohibited in FIS competitions. Older videos and recipes based on fluorine should therefore not be used as current race preparation instructions. Keep tools and the work surface clean if they have previously been used with fluorinated products.
Clean as much as needed - no more
You do not need to strip the glide surfaces back before every outing. Start with the gentlest method and only go further when dirt, old wax or a tired base calls for it.
Brush away dust and loose wax, wipe with Fiberlene and apply new wax to a clean surface.
Use a dedicated glide-surface cleaner as directed by the manufacturer, with a brush reserved for cleaning.
Iron in a soft cleaning wax and scrape it while still warm to lift dirt out of the base. Repeat if needed and finish with new wax.
Deep scratches, an uneven base or the wrong structure cannot be fixed with more paraffin wax. Professional stone grinding may be needed.
See the technique
Here you can see a current method for solid glide wax and a quick method for liquid glide wax. Always follow the temperature and procedure for the product you are using.
See the workflow from heating in to scraping and brushing.
Watch the video on YouTube - opens in a new tabSee how liquid glide wax is applied, allowed to dry and polished.
Watch the video on YouTube - opens in a new tabA well-chosen basic range
You do not need to fill your wax room straight away. Start with a few products you can get to know, and add more only when you know which problem the next product should solve.
A liquid universal wax, a basic solid universal wax, a cleaning or saturation wax and a few temperature-specific options go a long way.

Swix
Universal liquid glide wax for easy waxing shortly before heading out.
Apply a thin layer and follow the bottle's short drying and polishing method.

Swix
Affordable universal wax for those who want to learn hot waxing without a large temperature range.
Good as an everyday wax on both cross-country skis and other ski equipment.

SkiGo
Soft wax for hot scraping, cleaning and saturating a dry or dirty base.
Used as a working wax before the day's glide wax, not as a universal race choice.

Swix
Soft base and prep wax for new, freshly ground or dry bases.
Provides a good starting point when the ski needs to be saturated before a harder glide wax.

Swix
Hard glide wax for a typical colder temperature range around -2 to -8 °C.
A practical step when replacing universal wax with more temperature-specific glide wax.

Swix
Easy-to-work hard glide wax for milder conditions from plus temperatures down to a few degrees below zero.
Follow the iron temperature on the label and also assess whether the snow is new or transformed.
Waxing irons, sharp scrapers and the right brushes are more than accessories. They determine whether the wax is spread safely and the structure is truly cleared.

Swix
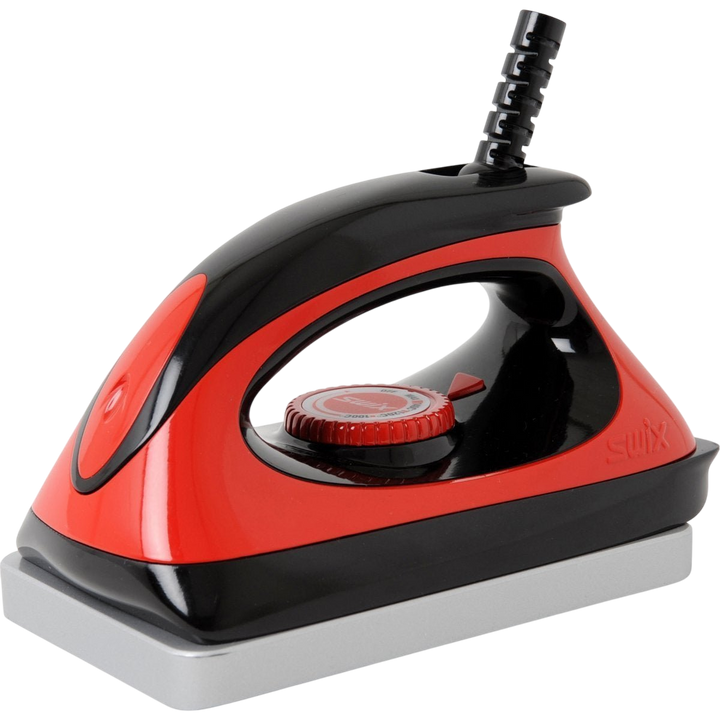
A simple waxing iron to get started with hard glide wax.
Always use the wax's recommended temperature and keep the iron moving.

Swix
Removes excess hard glide wax after the ski has cooled.
Sharpen frequently. A sharp scraper requires less pressure and gives better control.

Swix
Cleans out the groove before scraping the glide zones.
Do the groove first so the wax on the glide zones protects the base if the tool slips.

Swix
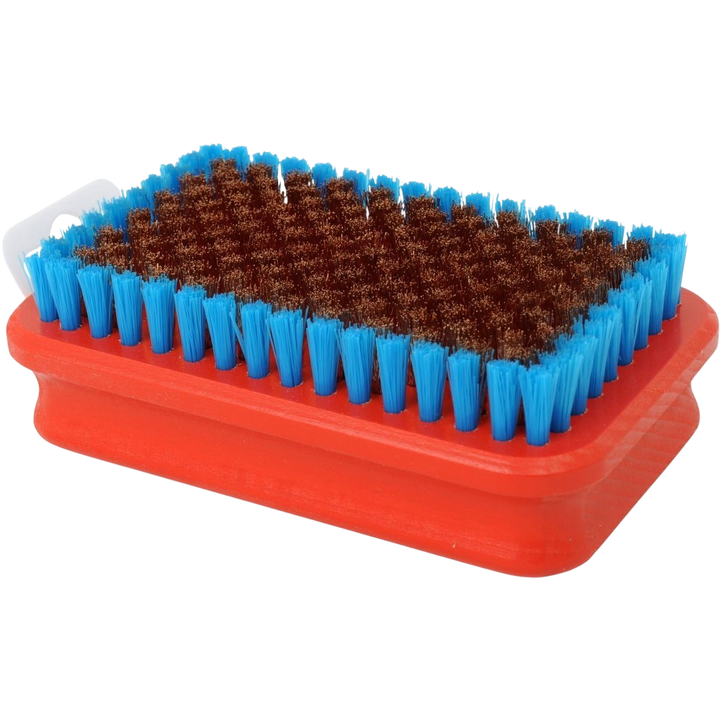
Bronze brush that removes wax from the structure after scraping.
Work with controlled strokes in the skiing direction.

SkiGo
Horsehair brush that brings out the structure and takes care of finer paraffin residue.
Can be used as an extra step before final polishing.

Swix
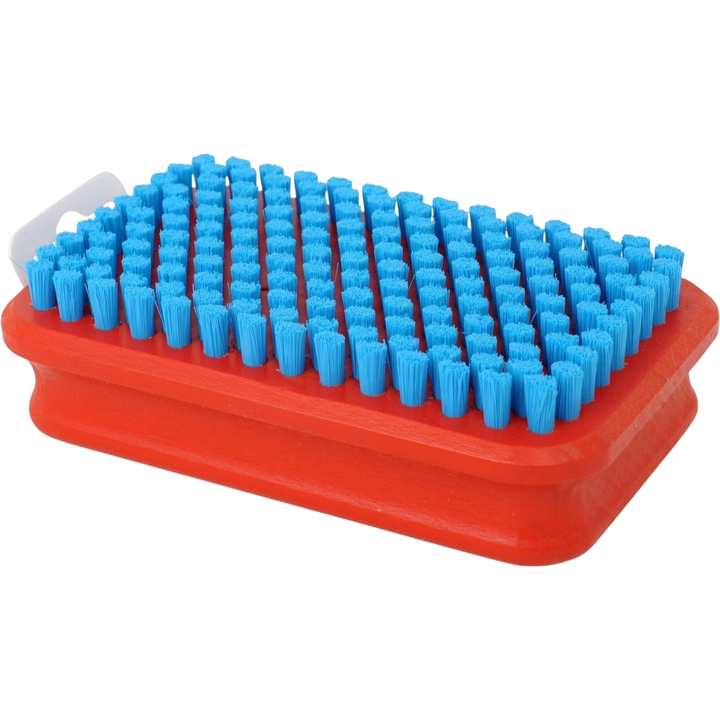
Fine nylon brush for the final polishing of the glide surface.
Finish with light strokes and then wipe the surface with Fiberlene.
Explore further
The glide-wax guide explains the workflow. These pages help you read the snow, choose brushes, clean correctly and build better waxing routines.
Learn to distinguish fresh, old, coarse-grained, dry and wet snow before choosing glide wax.
Read the guide ToolsSee what steel, bronze, horsehair and nylon do, and when a roto brush is worth using.
Read the guide MaintenanceExplore brushing, glide-surface cleaning and hot scraping when the base needs more than a routine service.
Read the guide Working routinesWork more cleanly, get to know a smaller range of products and use your waxing log to improve the results.
Read the guideFrequently asked questions
Glide waxing becomes easier when you distinguish the wax itself from the work that follows. Many problems come down to cooling, scraping or brushing.
Yes. They are only waxless in the grip zone. The glide zones in front of and behind the skins or fishscale pattern still need glide wax to reduce friction and keep the base in good condition.
It depends on the snow, distance and product. Apply new wax when glide clearly deteriorates, when the base looks dry or white, or after very abrasive man-made snow. Liquid wax can be used often, while a proper hot wax treatment is done less frequently but on a regular basis.
Liquid wax can provide very good glide with little effort, especially on an already well-prepared ski. Hard wax that is ironed in normally offers better durability and is important for long-term maintenance. For many, the combination is best.
Let it return to room temperature. For regular hard glide wax, at least around ten minutes is a good starting point, preferably longer when you have the time. Always follow the product instructions, as harder specialty waxes may require a different method.
The wax should work in and near the surface of the base. The thick excess on top slows the ski down and fills the structure. When the ski is finished, the pattern in the base should be open and the surface should feel clean, not coated with a layer of paraffin.
Use the temperature stated on the specific wax. Different products may require anything from relatively low to high temperature. The wax should melt easily without smoking, and the iron should keep moving over the base at all times.
A simple and current basic method is a steel or bronze brush after scraping, followed by fine nylon for polishing. Horsehair can be added as an extra intermediate step. Follow the instructions for the specific wax or wax line when it specifies a particular order.
Use fluorine-free products. Fluorinated waxes and tuning products are prohibited in FIS competition, and old products can also contaminate brushes, scrapers and work surfaces. Separate and clean older equipment if it has been used with fluorinated products.
Vallaboden's conclusion
The most common glide waxing mistake is not that the wax is completely wrong. It is that the ski is scraped and brushed too little. When the structure is filled with paraffin, the ski runs slowly regardless of what the block cost.
Start simple, get to know a few products, and follow the same workflow every time. Then it becomes possible to compare results and understand when the snow type, structure or the wax itself needs to be changed.