Vallaboden - hand structuring and base structure

Rilling of cross-country skis - structure that fine-tunes glide

Rilling is the final fine-tuning when glide waxing, scraping, and brushing are already right. Here you will learn to distinguish stone grind from hand structure, choose patterns according to the snow, and use pressure and coverage without making ski prep unnecessarily complicated.

Cross-country skis - classic and skateAbout 14 minutes readingUpdated August 2026

Fine-tuning - not the first step

How much rilling do you really need?

Rilling is most useful when the ski is already clean, correctly waxed and well brushed. Start with a simple linear structure and gain experience before combining patterns.

01

Everyday skiing and training

For recreational skiers wanting good glide without turning every outing into a test project.

  • Rill only when conditions justify it, mainly in damp or transformed snow.
  • A straight 1 mm riller is a versatile first tool.
  • Use light pressure and one steady pass.
03

Racing and systematic testing

For skiers and wax technicians testing several pairs, combining structures and recording results.

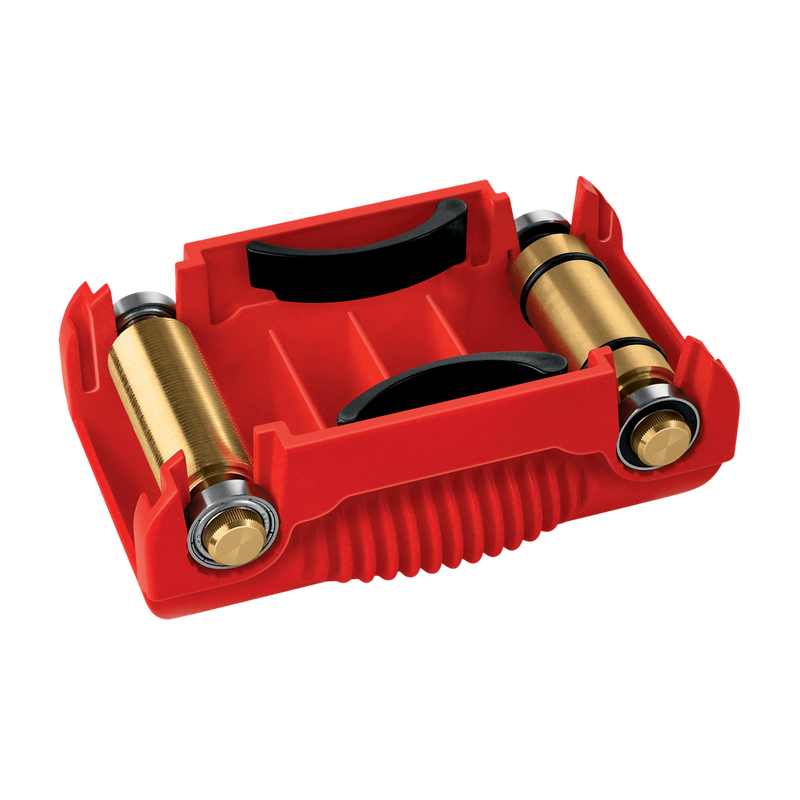
  • Adjustable pressure and more linear, V-shaped and diagonal rollers.
  • Compare a rilled ski with an unrilled one, or two different combinations.
  • Change one variable at a time and always record pressure.

Understand the whole picture

Four factors shape ski contact with the snow

Rilling works on top of the existing grind. It can fine-tune drainage and feel, but cannot compensate for unsuitable skis, clogged structure or poor brushing.

The base grind

The stone grind is the ski's permanent base pattern. Fine, medium and coarse grinds give different starting points for snow type, discipline and moisture.

A good universal or medium grind can be adapted to many conditions with hand structure.

The hand-applied structure

A rolling tool presses a temporary pattern into the base. Roller choice, pressure and placement make the pattern finer or coarser.

Most rolled hand structures disappear when the ski is reheated with glide wax.

Wax and brushing

Glide wax affects friction, while brushing clears both grind and hand structure. Paraffin left in the pattern prevents rilling from working as intended.

Finish scraping and brushing before using a rolling rilling tool.

Ski camber and snow

Contact length, pressure zones, snow crystals and water content determine how the structure works on snow.

The right structure on the wrong ski is still wrong. Test the whole setup, not just the tool.
Rolling or cutting? A rolling tool imprints a temporary structure and is the safer choice for most people. Cutting tools change the base more permanently, require experience and should only be used once you understand how to restore the ski.

Temperature is only the beginning

Choose finer or coarser for the snow and water content

No universal table suits every grind and pair. Use the cards as a starting point and follow the roller manufacturer's recommendation for the final combination.

Cold, dry, new snow

Coarse, sharp structure is more likely to add unnecessary friction here. Start without extra rilling or with a very fine pattern and low pressure.

When unsure in cold new snow, go finer and lighter.

Fine-grained, stable winter conditions

A fine linear or fine broken-V structure can improve release without opening the base too much. Keep pressure controlled.

A subtle pattern is often better than a pronounced coarse structure.

Old, transformed or artificial snow

Snow is often coarser and more abrasive. Straight 1 mm, fine V or diagonal patterns are common starting points, depending on temperature and grind.

The combination of pattern and pressure matters especially here.

Wet, coarse, water-rich snow

The structure now needs to break suction and drain more water. Coarser linear patterns, larger V structures or combinations may work better.

Increase pressure gradually, without putting your full body weight on the tool.

Linear, V, diagonal and herringbone

The pattern is only half the choice

Two rollers with the same pattern name can behave very differently. Groove spacing, depth, pressure and the base grind must be considered together.

Straight or linear

The simplest, most versatile pattern. Longitudinal grooves can improve drainage and release.

  • 1 mm is a common starting point.
  • Wider spacing more often suits wetter, coarser snow.
The first pattern most people should learn.

Broken V

The V pattern breaks the water film in several directions. A fine 0,5 mm V and coarse 1 mm V serve different conditions.

  • Fine V is often used from colder to transformed conditions.
  • Coarse V is more often used in wet, coarse snow.
Read the roller's exact range, not just the word V.

Diagonal or screw pattern

Diagonal patterns can be used alone or in right-and-left combinations to break suction and change the feel.

  • Common in more advanced skating and race systems.
  • Direction and sequence must be correct.
Always record right, left and sequence.

Christmas tree or herringbone

A more complex pattern combining drainage and stability, often used in coarse, transformed or wet snow.

  • Can have a clear effect on the right base grind.
  • Should be tested against a simpler linear structure.
A more advanced pattern does not automatically make skis faster.

Centre groove and special structures

Special tools can create a distinct central groove or work on only part of the base to solve a specific problem.

  • Can reduce contact area and affect tracking feel.
  • Use only once you know what is missing.
A special tool should solve a clear problem, not just fill the wax box.

Patterns are schematic, with the ski running from top to bottom. Appearance and spacing vary between tools.

How to read the millimetre measurement: the measurement describes roller or structure spacing within that system, not how deeply to press into the base. A larger number normally means a coarser, more open pattern. Pressure, base material and grind also affect the imprint.

Rilling step by step

One steady pass is better than three corrections

Rolling rillers are easy to use, but work best with a stable ski, clean roller and pressure chosen in advance. The first pass should be a test, not a test of strength.

Correct sequence

Finish waxing, scraping and brushing first.

Correct direction

Follow the tool's arrow and the skiing direction.

Correct pressure

Light in cold snow, more in wet and transformed snow.

The right zone

Glide surfaces only - never the kick zone or skin.

  1. Choose skis for their grind and the conditions

    Rilling fine-tunes a suitable pair. Do not start by trying to rescue a coarse warm-weather grind in cold new snow.

  2. Complete the glide waxing

    Scrape and brush until the structure is clear. Rolled hand structure normally follows glide waxing and brushing.

  3. Secure the ski firmly

    The ski should sit straight in the profile. A tilted or bouncing tool leaves an uneven imprint.

  4. Check roller and direction

    Clean the roller, check the model and pattern, and follow the arrow showing the working direction.

  5. Start with light, even pressure

    Move the tool from tip to tail in one continuous pass. Do not add pressure midway.

  6. Match coverage to the ski type

    On classic skis, rill the glide zones ahead of and behind the kick zone. On skate skis, work over the entire glide surface. On skin skis, keep the tool completely away from the skin strip.

  7. Inspect the imprint in side lighting

    The structure should be even and follow the ski. Do not add a pass just because the pattern looks faint; faint can be right in cold snow.

  8. Test before adding combinations

    Try one pattern before adding a second roller. For racing, always compare with another structure.

The right zone on the right ski

Rill glide zones - leave grip alone

Use the tool where the ski glides. On waxable classic skis and skin skis, leave the middle zone untouched.

RillGrip
Leave untouched
Rill

Classic skis with grip wax

Rill the glide zones ahead of and behind the kick zone. Avoid hard grip wax, klister and the roughened middle zone.

RillSkin
Leave untouched
Rill

Skin skis

Rill the glide surfaces ahead of and behind the skin. Never roll over skin fibres or the adhesive zone.

Glide surface - can be rilled

Skating skis

The entire base is a glide surface. A common advanced approach uses a lighter imprint at the front and a stronger one from binding to tail.

Schematic diagrams, not to scale. Use the actual glide and kick zones of your own skis.

Pressure, coverage and combinations

Three adjustments matter more than another roller

The same roller can give different results depending on pressure, placement and combination with another pattern.

01

Pressure

Light pressure gives a subtle imprint for colder, finer snow. More may be needed in water-rich, transformed, coarse snow.

Increase in small steps. An overly deep pattern is harder to reverse during on-snow testing.
02

Coverage

Apply hand structure to the entire glide surface, only the rear or with varying pressure along the ski.

Starting on the rear half is a cautious way to learn the effect.
03

The combination

Linear structure can be combined with V, diagonal or herringbone. Each extra layer makes test results harder to interpret.

Never add two patterns just because you own both.

Six common mistakes

When rilling slows a good ski down

Rilling is fine-tuning. The biggest mistakes are overly coarse patterns, excessive pressure or changing several variables at once.

Mistake 1

Too coarse a structure in cold new snow

Sharp snow crystals and a pronounced coarse pattern can create more resistance than drainage benefit.

Fix: start finer, lighter or without extra rilling.
Mistake 2

Heavy pressure from the first pass

Depth becomes uneven and you lose the chance to compare a light imprint with a stronger one.

Fix: start lightly and increase only after testing.
Mistake 3

Rilling a clogged base

Paraffin remains in the base structure and the tool imprints over an unfinished waxing job.

Fix: fully scrape and brush the structure clear first.
Mistake 4

Running the tool over grip wax or skins

Rilling belongs on glide zones. The middle zone can be damaged or lose performance.

Fix: mark the boundaries and lift the tool before the middle zone.
Mistake 5

Extra passes to correct a crooked pass

Multiple passes at different angles and pressures create a hard-to-interpret pattern.

Fix: stabilise the ski and make one planned, continuous pass.
Mistake 6

No comparison or notes

You remember the ski was good, but not the roller, coverage or pressure.

Fix: change one thing at a time and record the full structure.

Test like a wax technician

Build the best structure chart on your own skis

Grind, camber, base, body weight and home trails mean the same roller feels different to different skiers. Systematic notes are therefore worth more than a long temperature list.

Do not only ask which ski is fastest. Also feel which releases most easily and needs the least effort to keep moving.
  1. Keep wax and brushing identical

    Use the same glide wax, iron temperature, scraping and brushing sequence on the skis being compared.

  2. Change one structure variable

    Compare straight 1 mm with no rilling, or the same roller with light and medium pressure.

  3. Test in today's tracks

    Compare in the same snow, gradient and direction. Repeat and swap order to reduce wind and changing-track effects.

  4. Assess speed and feel

    Note acceleration, release, high-speed glide and whether the ski feels hard to keep moving.

  5. Write down the next step immediately

    Finish with a concrete sentence: next time I will try the same roller with lighter pressure on the front half.

From guide to waxing bench

Rilling tools from a first linear pattern to a complete system

Start with a rolling tool and an all-round linear pattern. Check that new rollers fit your tool and expand for the conditions you ski most.

Rollers and special patterns

Expand once you know which conditions you cannot cover

View rilling and structure tools
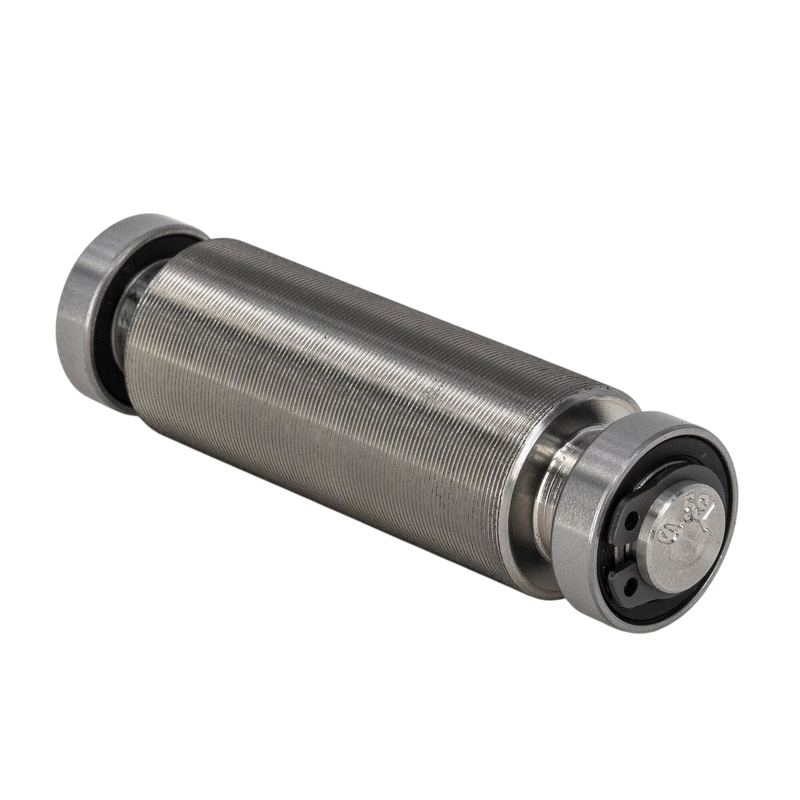
Interchangeable T424 rollersIn stock
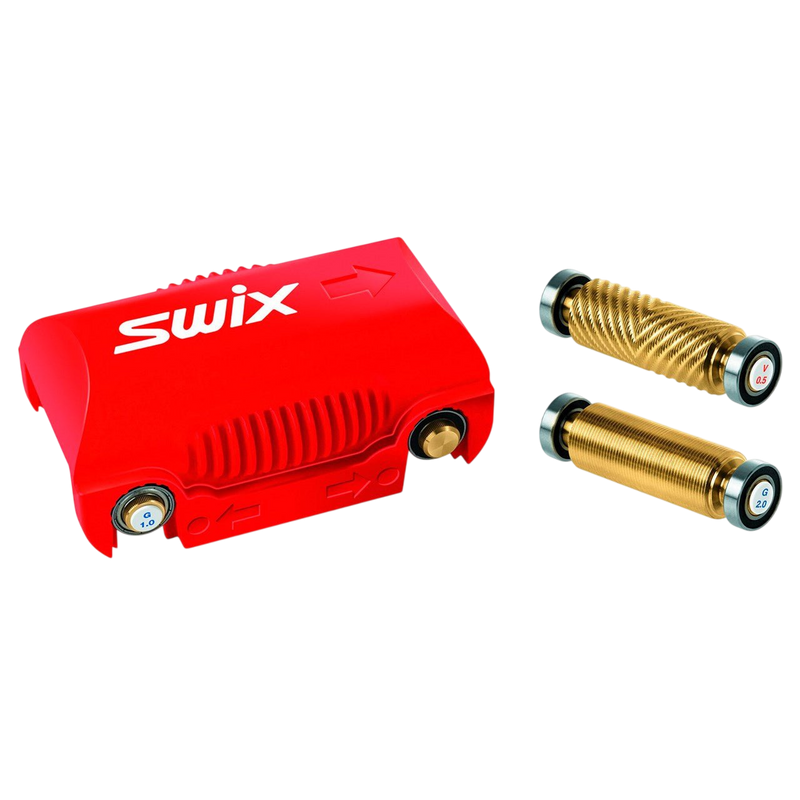
Swix T424 (T423) Rillers

Swix

Swix T424 (T423) Rillers

Interchangeable rollers for expanding the T424 system with straight or V-shaped structure.

Vallaboden's advice: Check the exact roller designation and range. A 0.5 mm V and a 2 mm straight roller solve completely different tasks.

Rollers for T410In stock
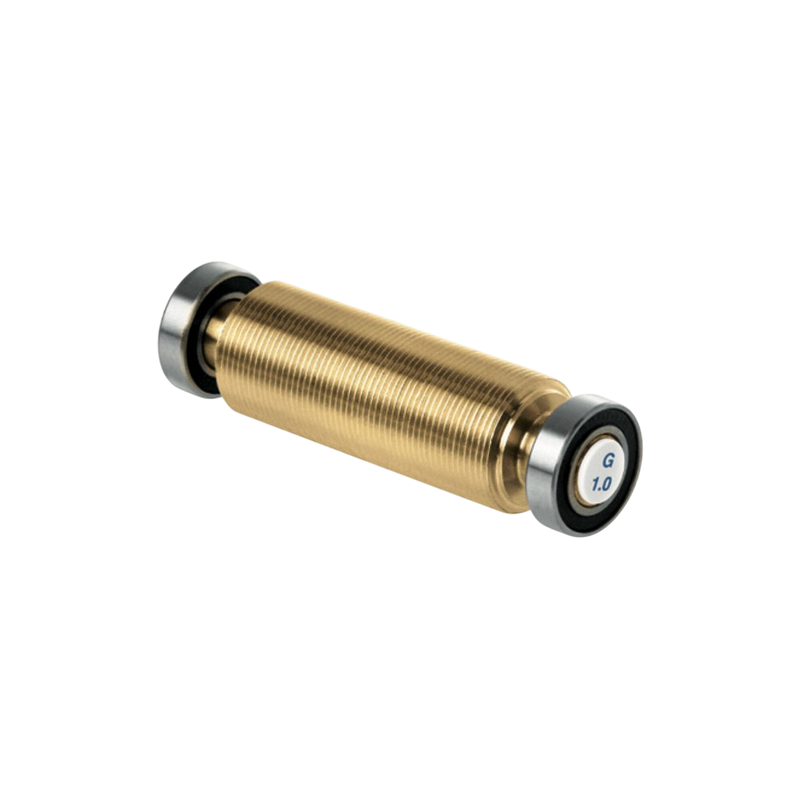
Swix T410 Rillers

Swix

Swix T410 Rillers

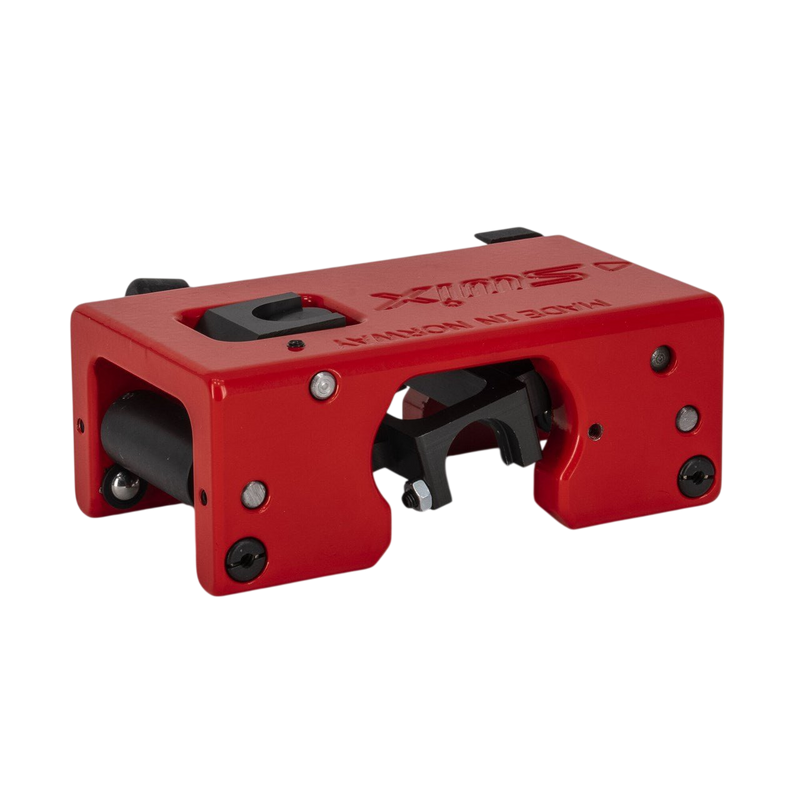
Wide selection of linear, V-shaped, and angled rollers for the adjustable system.

Vallaboden's advice: Build a small, tested setup instead of buying every available roller at once.

Structure steelsIn stock
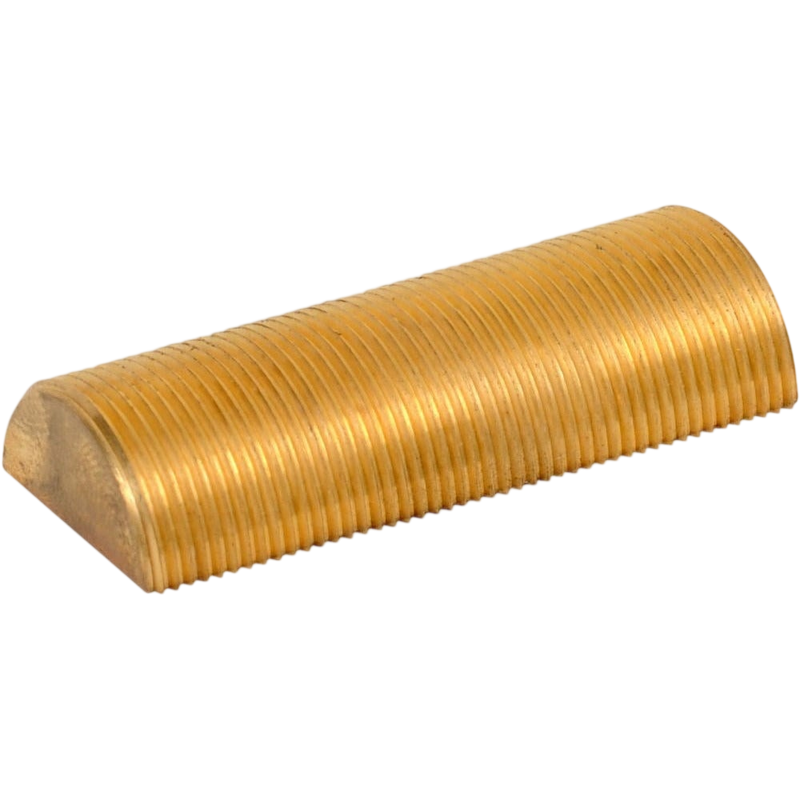
Swix T401 Rillers

Swix

Swix T401 Rillers

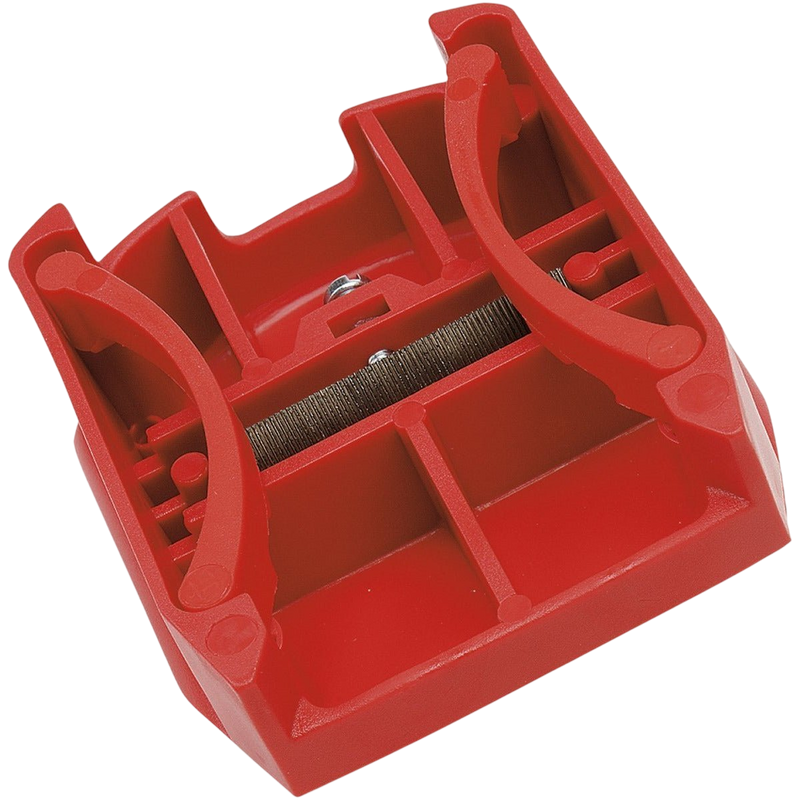
Replaceable straight structure steels for the Swix Super Riller.

Vallaboden's advice: Cutting inserts require more experience and should not be used with the same procedure as rolling rollers.

Cold and subtleIn stock
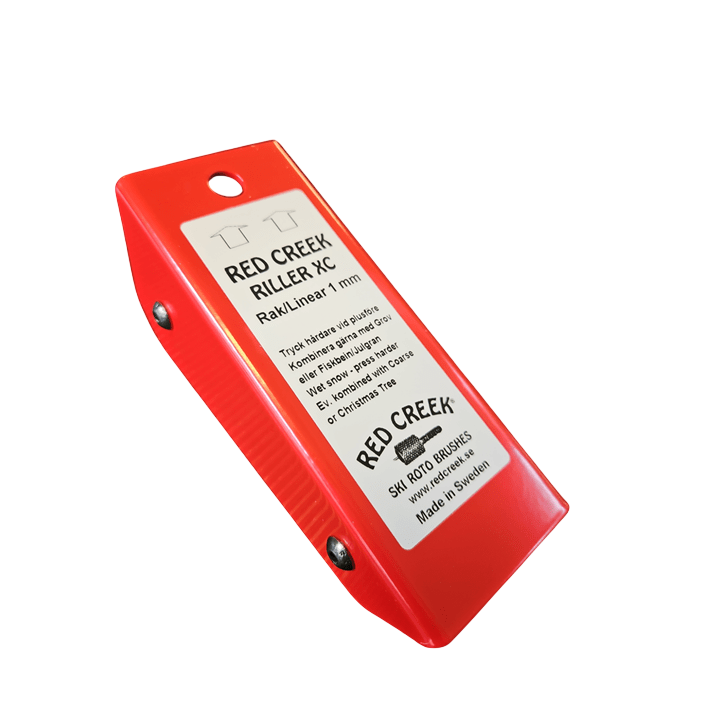
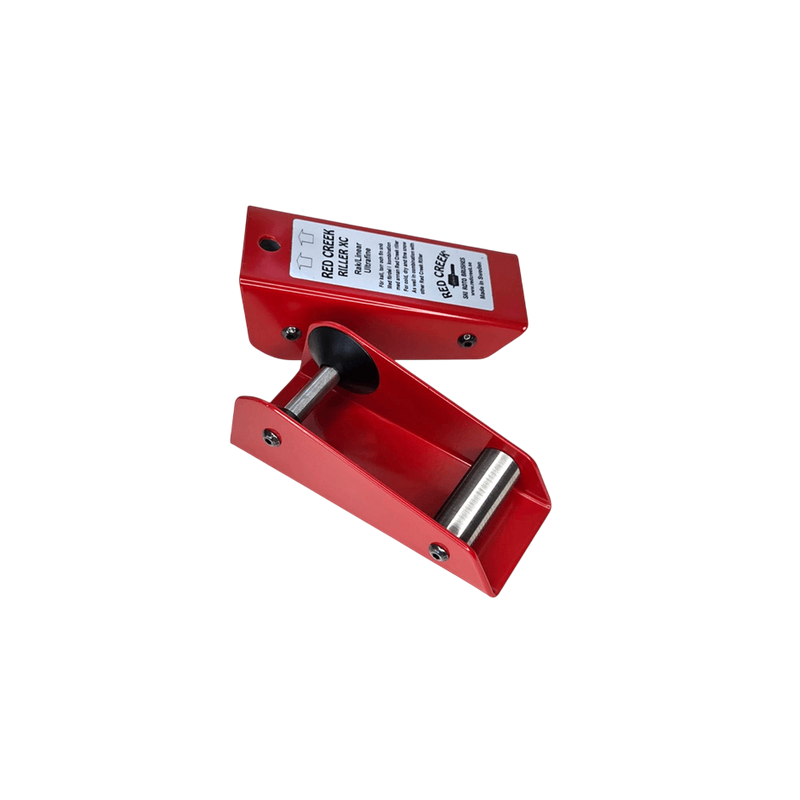
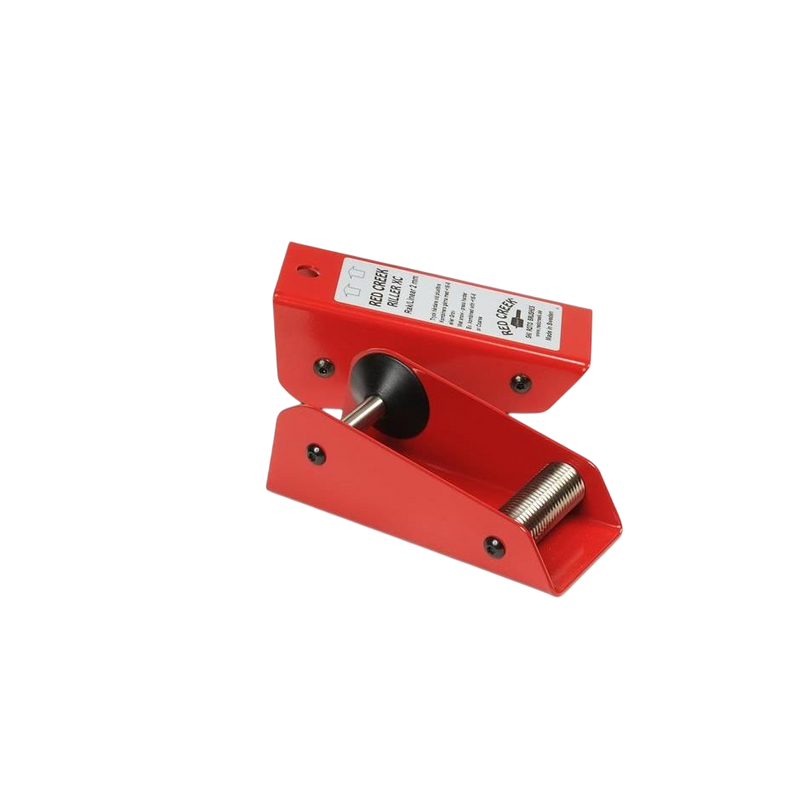
Red Creek Riller - ultra-fine linear

Red Creek

Red Creek Riller - ultra-fine linear

Ultra-fine linear structure for colder and finer conditions where the imprint should be gentle.

Vallaboden's advice: Use very light pressure and preferably compare against a completely unrilled ski.

Wetter conditionsTemporarily out of stock
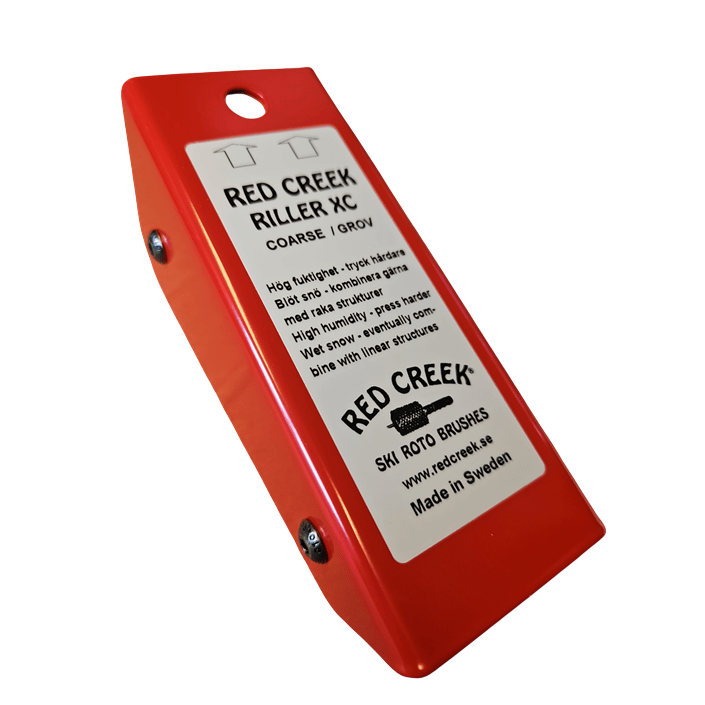
Red Creek Riller - straight 2 mm

Red Creek

Red Creek Riller - straight 2 mm

Coarse straight structure for clearer water drainage in damp and wet snow.

Vallaboden's advice: Start on a pair of skis with a medium or warm base grind and increase the pressure gradually.

Warm angled structureIn stock
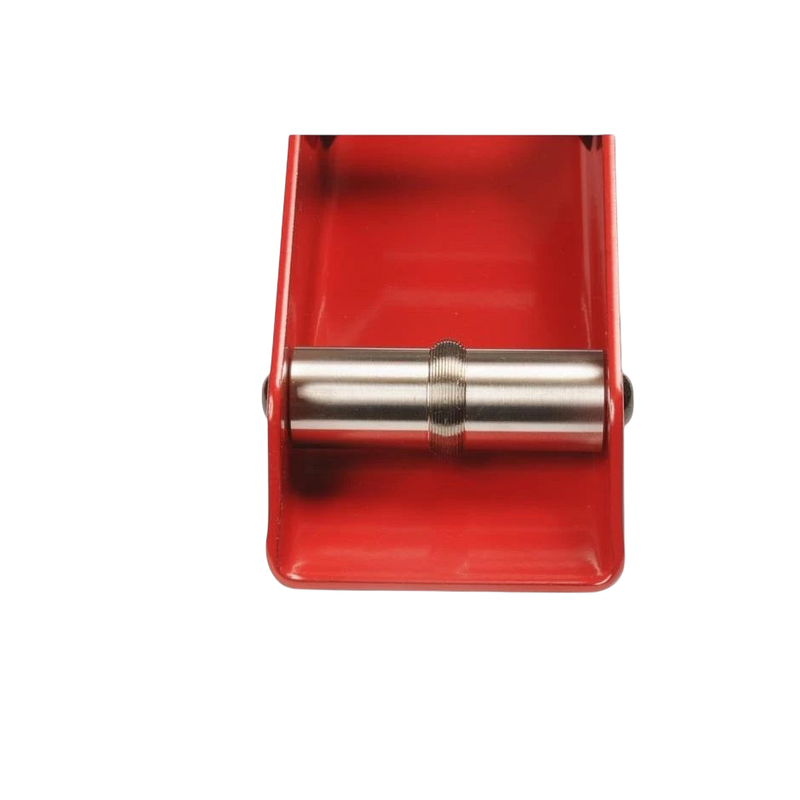
Red Creek Riller - diagonal coarse warm

Red Creek

Red Creek Riller - diagonal coarse warm

Angled coarse pattern for wet, coarse-grained, and suctioning snow.

Vallaboden's advice: Test against a straight warm structure. The difference can lie as much in release as in top speed.

Special toolTemporarily out of stock
Red Creek Riller - center groove

Red Creek

Red Creek Riller - center groove

Riller that lays a distinct centre groove to affect contact area and feel.

Vallaboden's advice: Buy this only when you can explain why a centre groove is missing in your current structure system.

Frequently asked questions

What skiers most often ask about rilling

Rilling is easy to start but hard to turn into an exact formula. Begin with a dependable rolling tool, light pressure and clear notes.

Do I need to rill my skis before every outing?

No. For regular training, a clean, correctly waxed, and well-brushed ski is more important. Rilling is primarily a fine adjustment when you want to adapt the glide to moisture, transformed snow, or racing. In cold and dry fresh snow, extra rilling may be completely unnecessary.

What is the difference between stone grinding and rilling?

Stone grinding creates the ski’s permanent base structure in the workshop. A rolling rill tool presses a temporary pattern on top of the grind and is used to adapt the same pair of skis to today’s conditions. Cutting hand tools are closer to a permanent change and require more experience.

Which rill tool is best as a first purchase?

A rolling tool with a straight 1 mm structure is the safest first choice for most skiers. It covers many conditions and makes it possible to learn how light, medium, and slightly more pronounced pressure affect the same pair of skis.

How hard should I press?

Start light. Cold, fresh, and fine-grained snow normally requires less imprint, while wet and transformed snow may require a more distinct structure. Pressure is a key part of the result, so change it in small steps and write down what you did.

At what stage in waxing should the rill be applied?

Rolling hand structure is normally applied after the glide wax has been scraped and brushed out completely. Cutting tools may have a different work sequence and can affect the wax layer, so always follow the instructions for the specific system.

Do you rill the entire classic ski?

No. On classic waxable skis, the glide zones in front of and behind the kick zone are rilled. On skin skis, the same principle applies, but the skin strip must be left completely untouched. On skate skis, the entire base is glide surface.

How do I remove a rolled hand structure?

Most rolled hand structures become significantly weaker or disappear when the ski is reheated with glide wax and prepped again. Cutting structures work differently and may require a new workshop stone grind to be fully restored.

Can I combine a straight rill with a V or diagonal structure?

Yes, but start with one pattern and test it first. When two structures are combined, direction, sequence and pressure become more important. Note down exactly what you do, otherwise it becomes difficult to understand which part improved or worsened the glide.

How much faster do skis become from rilling?

It is not possible to state a general time gain. On the right ski in the right conditions, the difference can be clear, especially in release and water-rich snow. With the wrong pattern or too much pressure, the ski can instead become slower. Therefore, comparative testing is more important than a general percentage figure.

The road to the top starts in the basement

The right rill is the structure you have tested - not the coarsest roller in the box

Start with a clean, well-brushed base, a simple straight structure, and light pressure. Once you know how that combination feels, you can build further with V, diagonal, or coarser rill.

What makes the biggest difference over time is testing systematically and keeping notes on ski, grind, snow, roller, pressure, and coverage.